


Quick steps:
- On your computer, sign in to your Google Account, or create one.
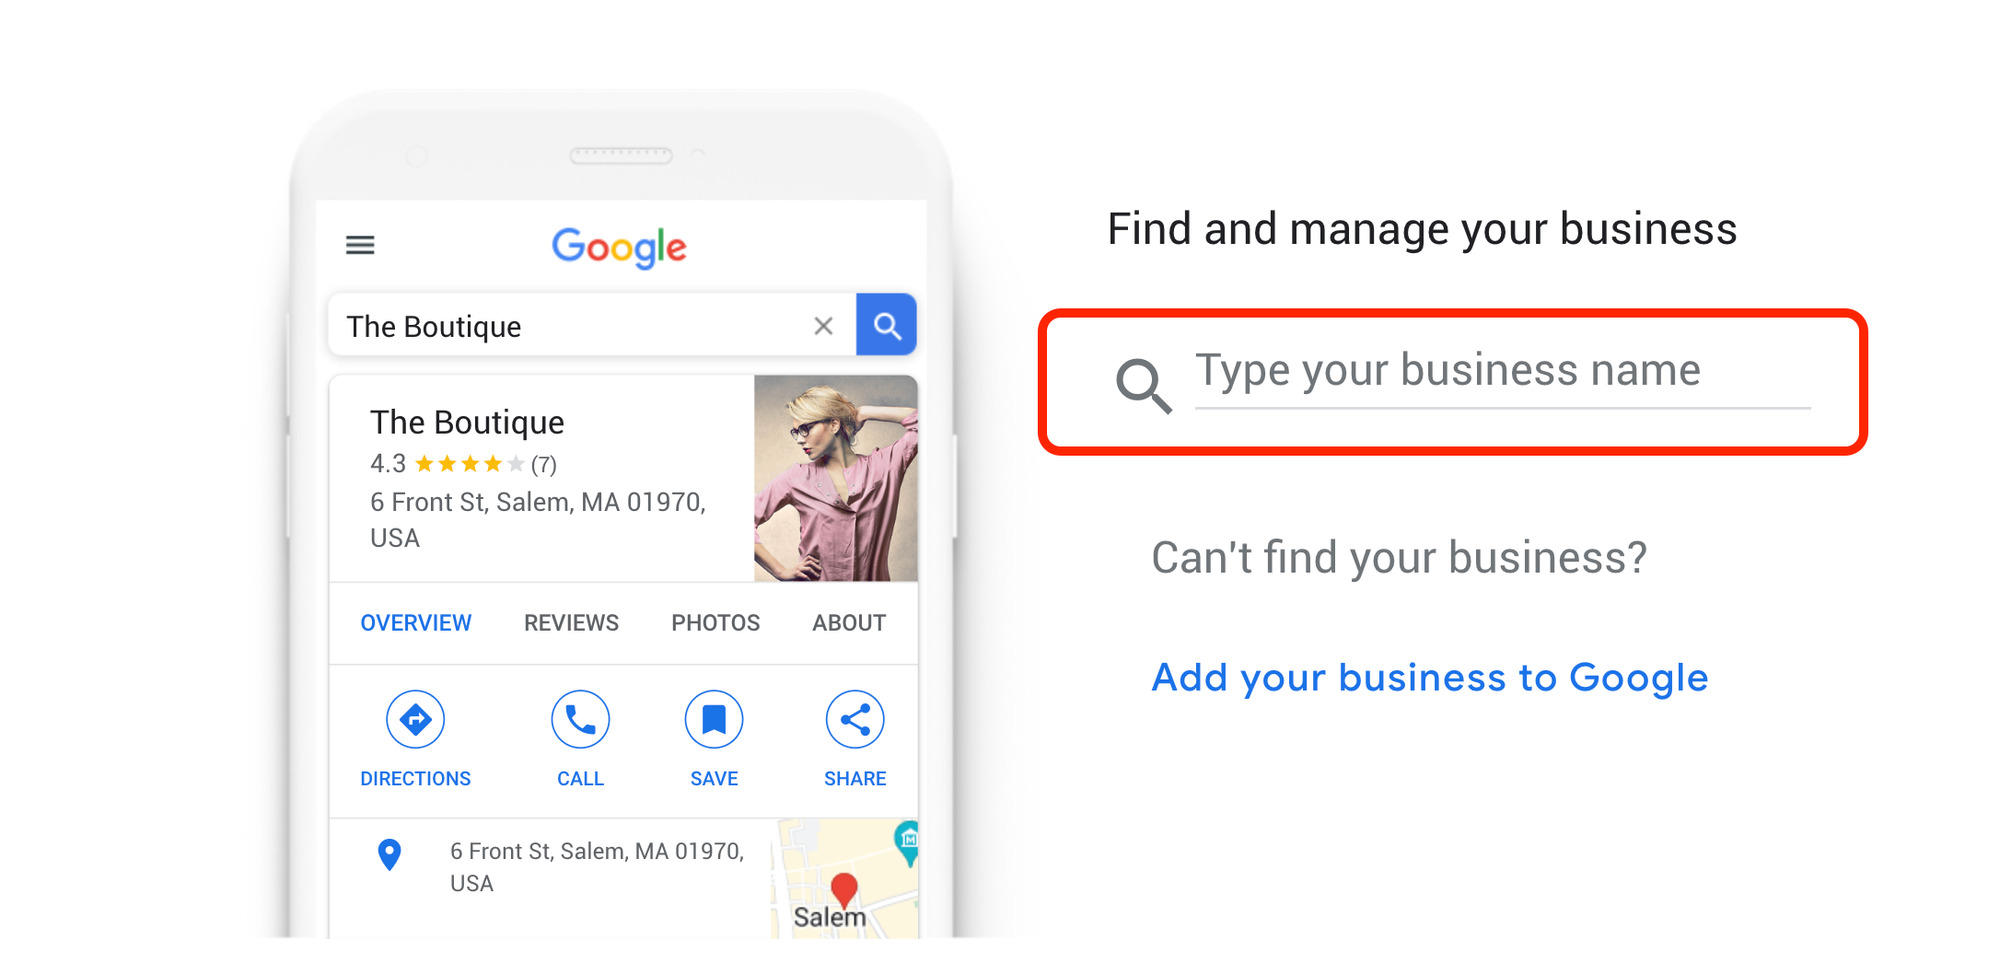
- Go to create a profile.
- Enter the name of your business.
- If you get a message that someone else has already verified the business, request ownership of the Business Profile.
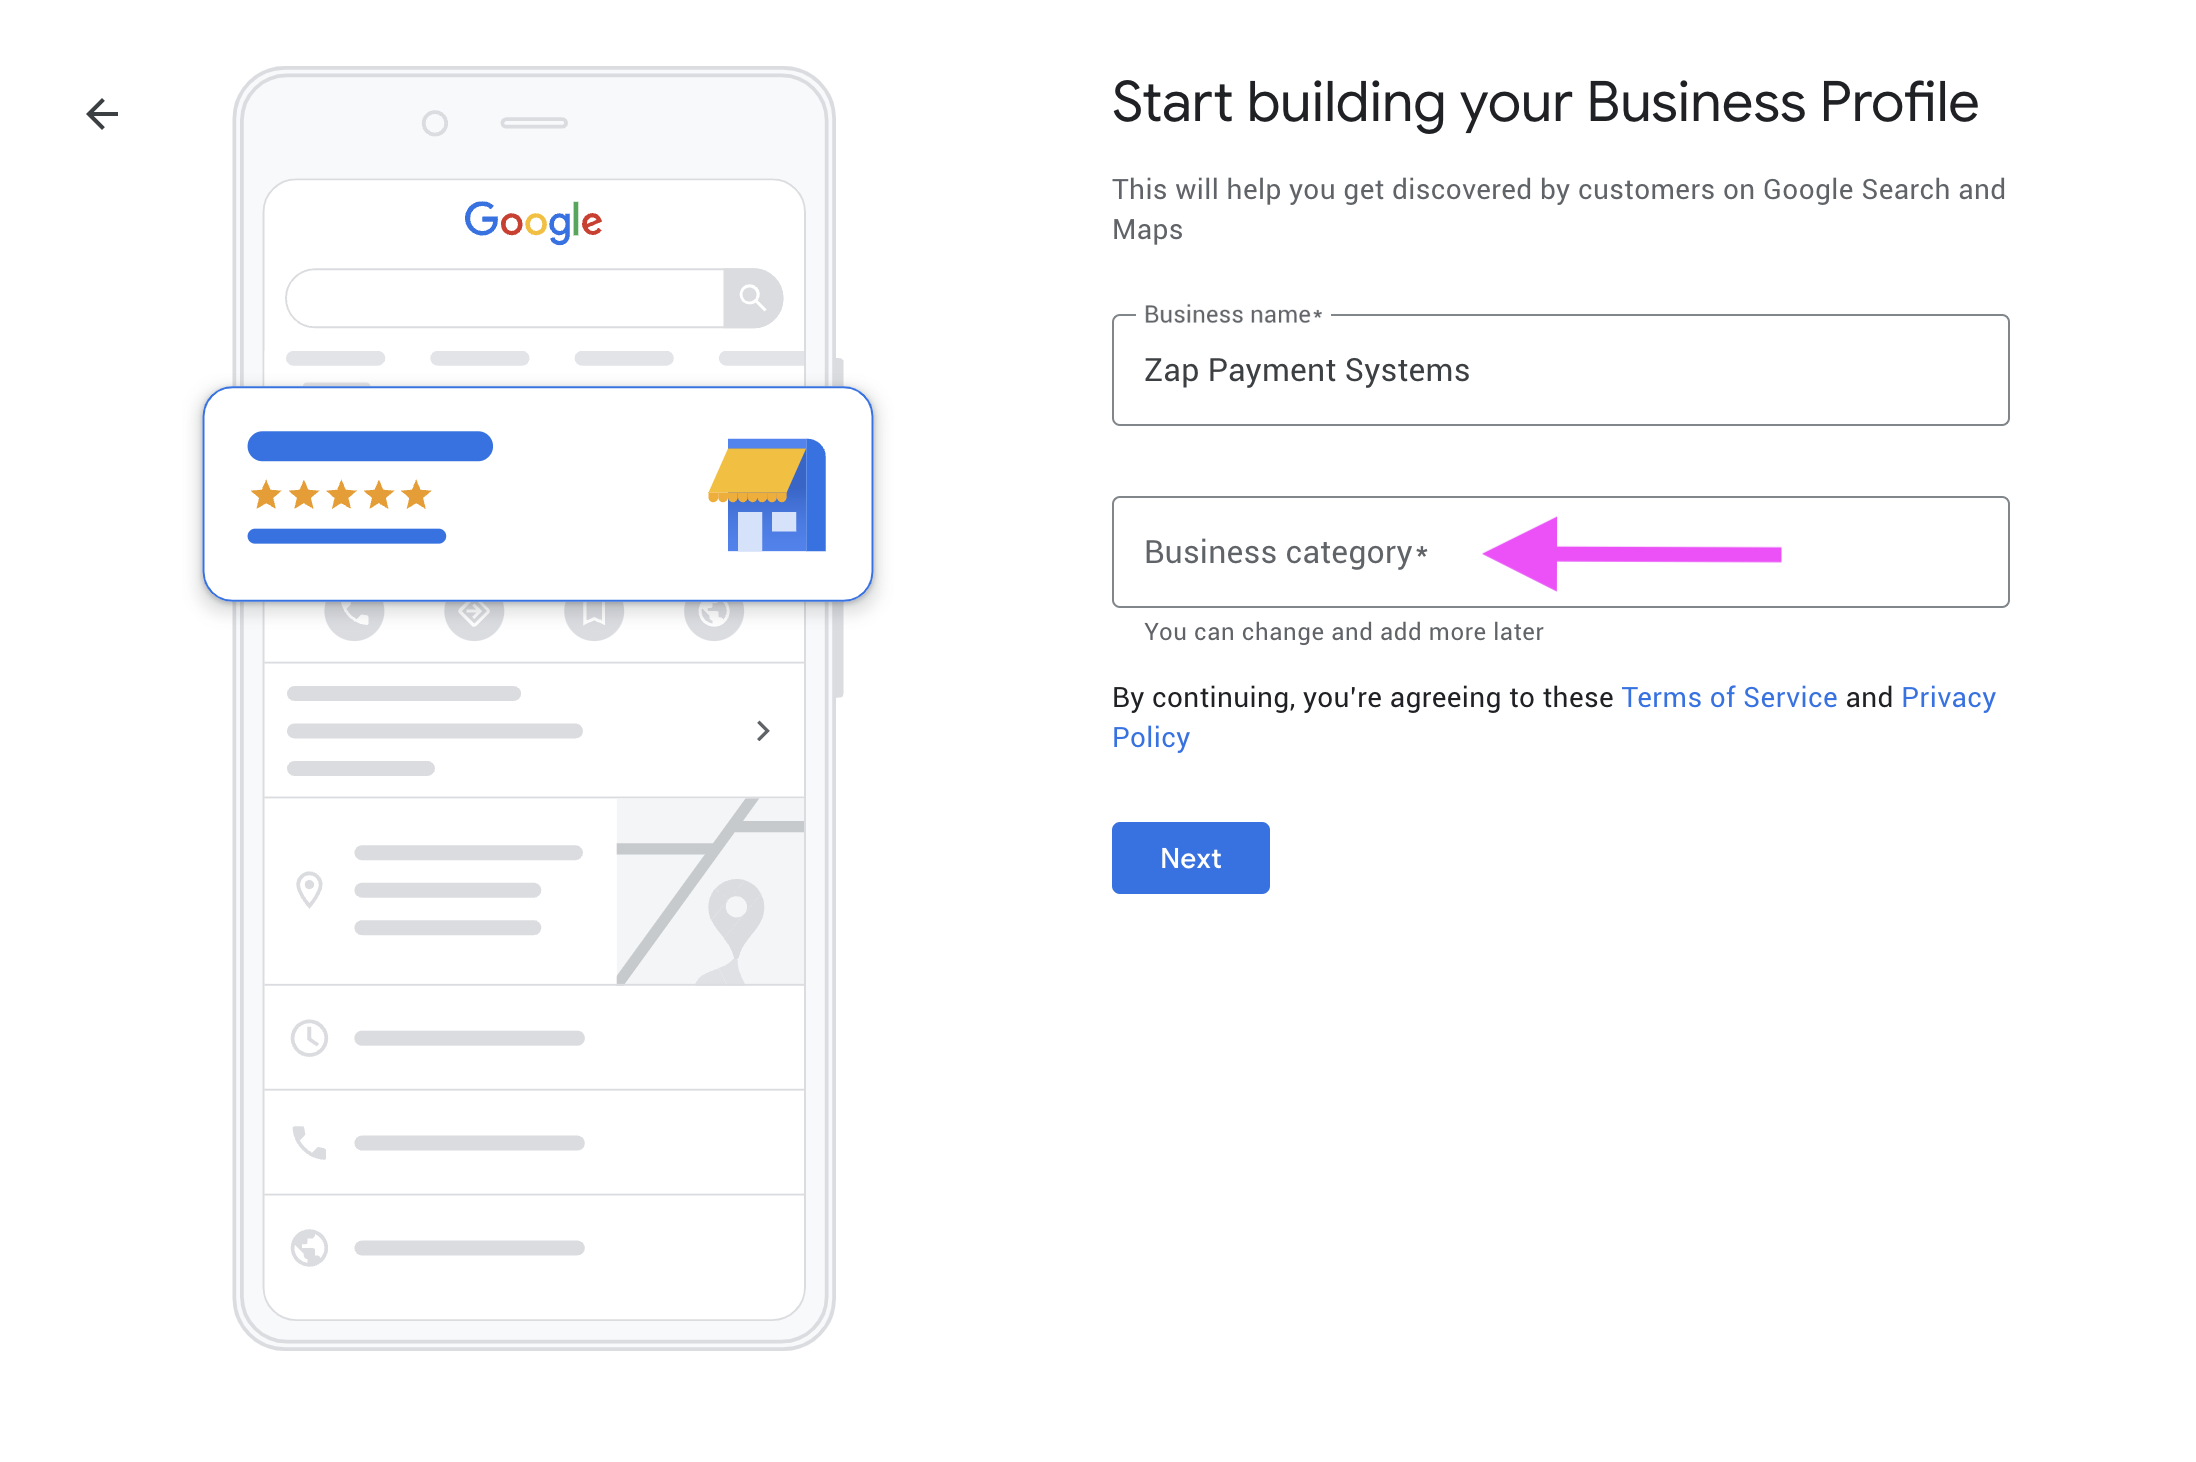
- Search for your business category.
- Click Next.
- Choose whether you have a location customers can visit.
- Enter the service area of your business.
- Enter a phone number and website URL.
- Click Next.
- Click Finish.
- Select a verification option.
Visual Guide
I am creating a Google Business Profile for a client that offers payment processing. Please follow my visual guide below so that you can see how it's done.
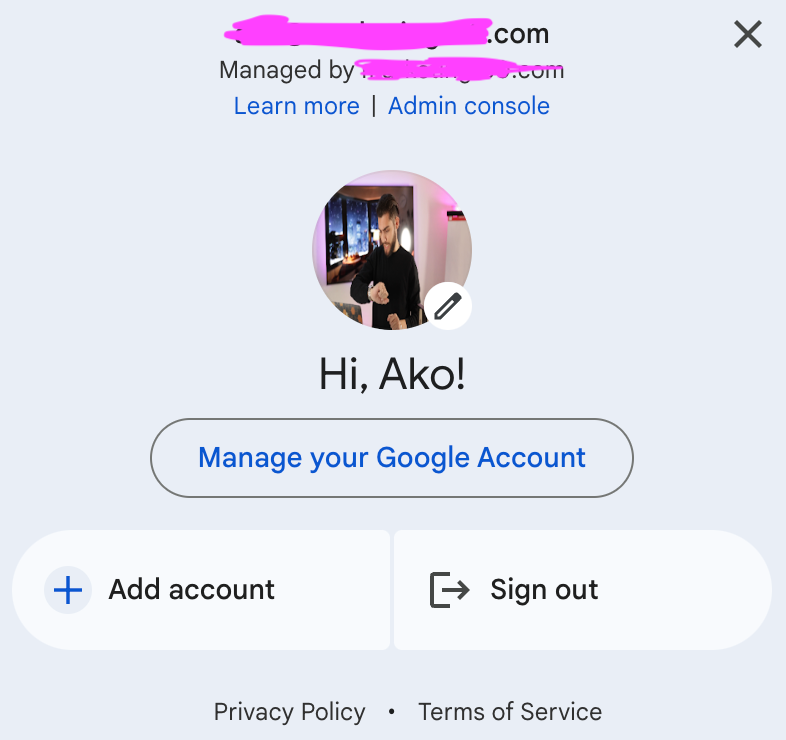
Step #1: Sign in to your Google Account
If you don't already have a Google Account, create a new Google Account, with your business email domain.
Step #2: Go to create a profile.
Step #3: Enter the name of your business.
Step #4: Search for your business category.
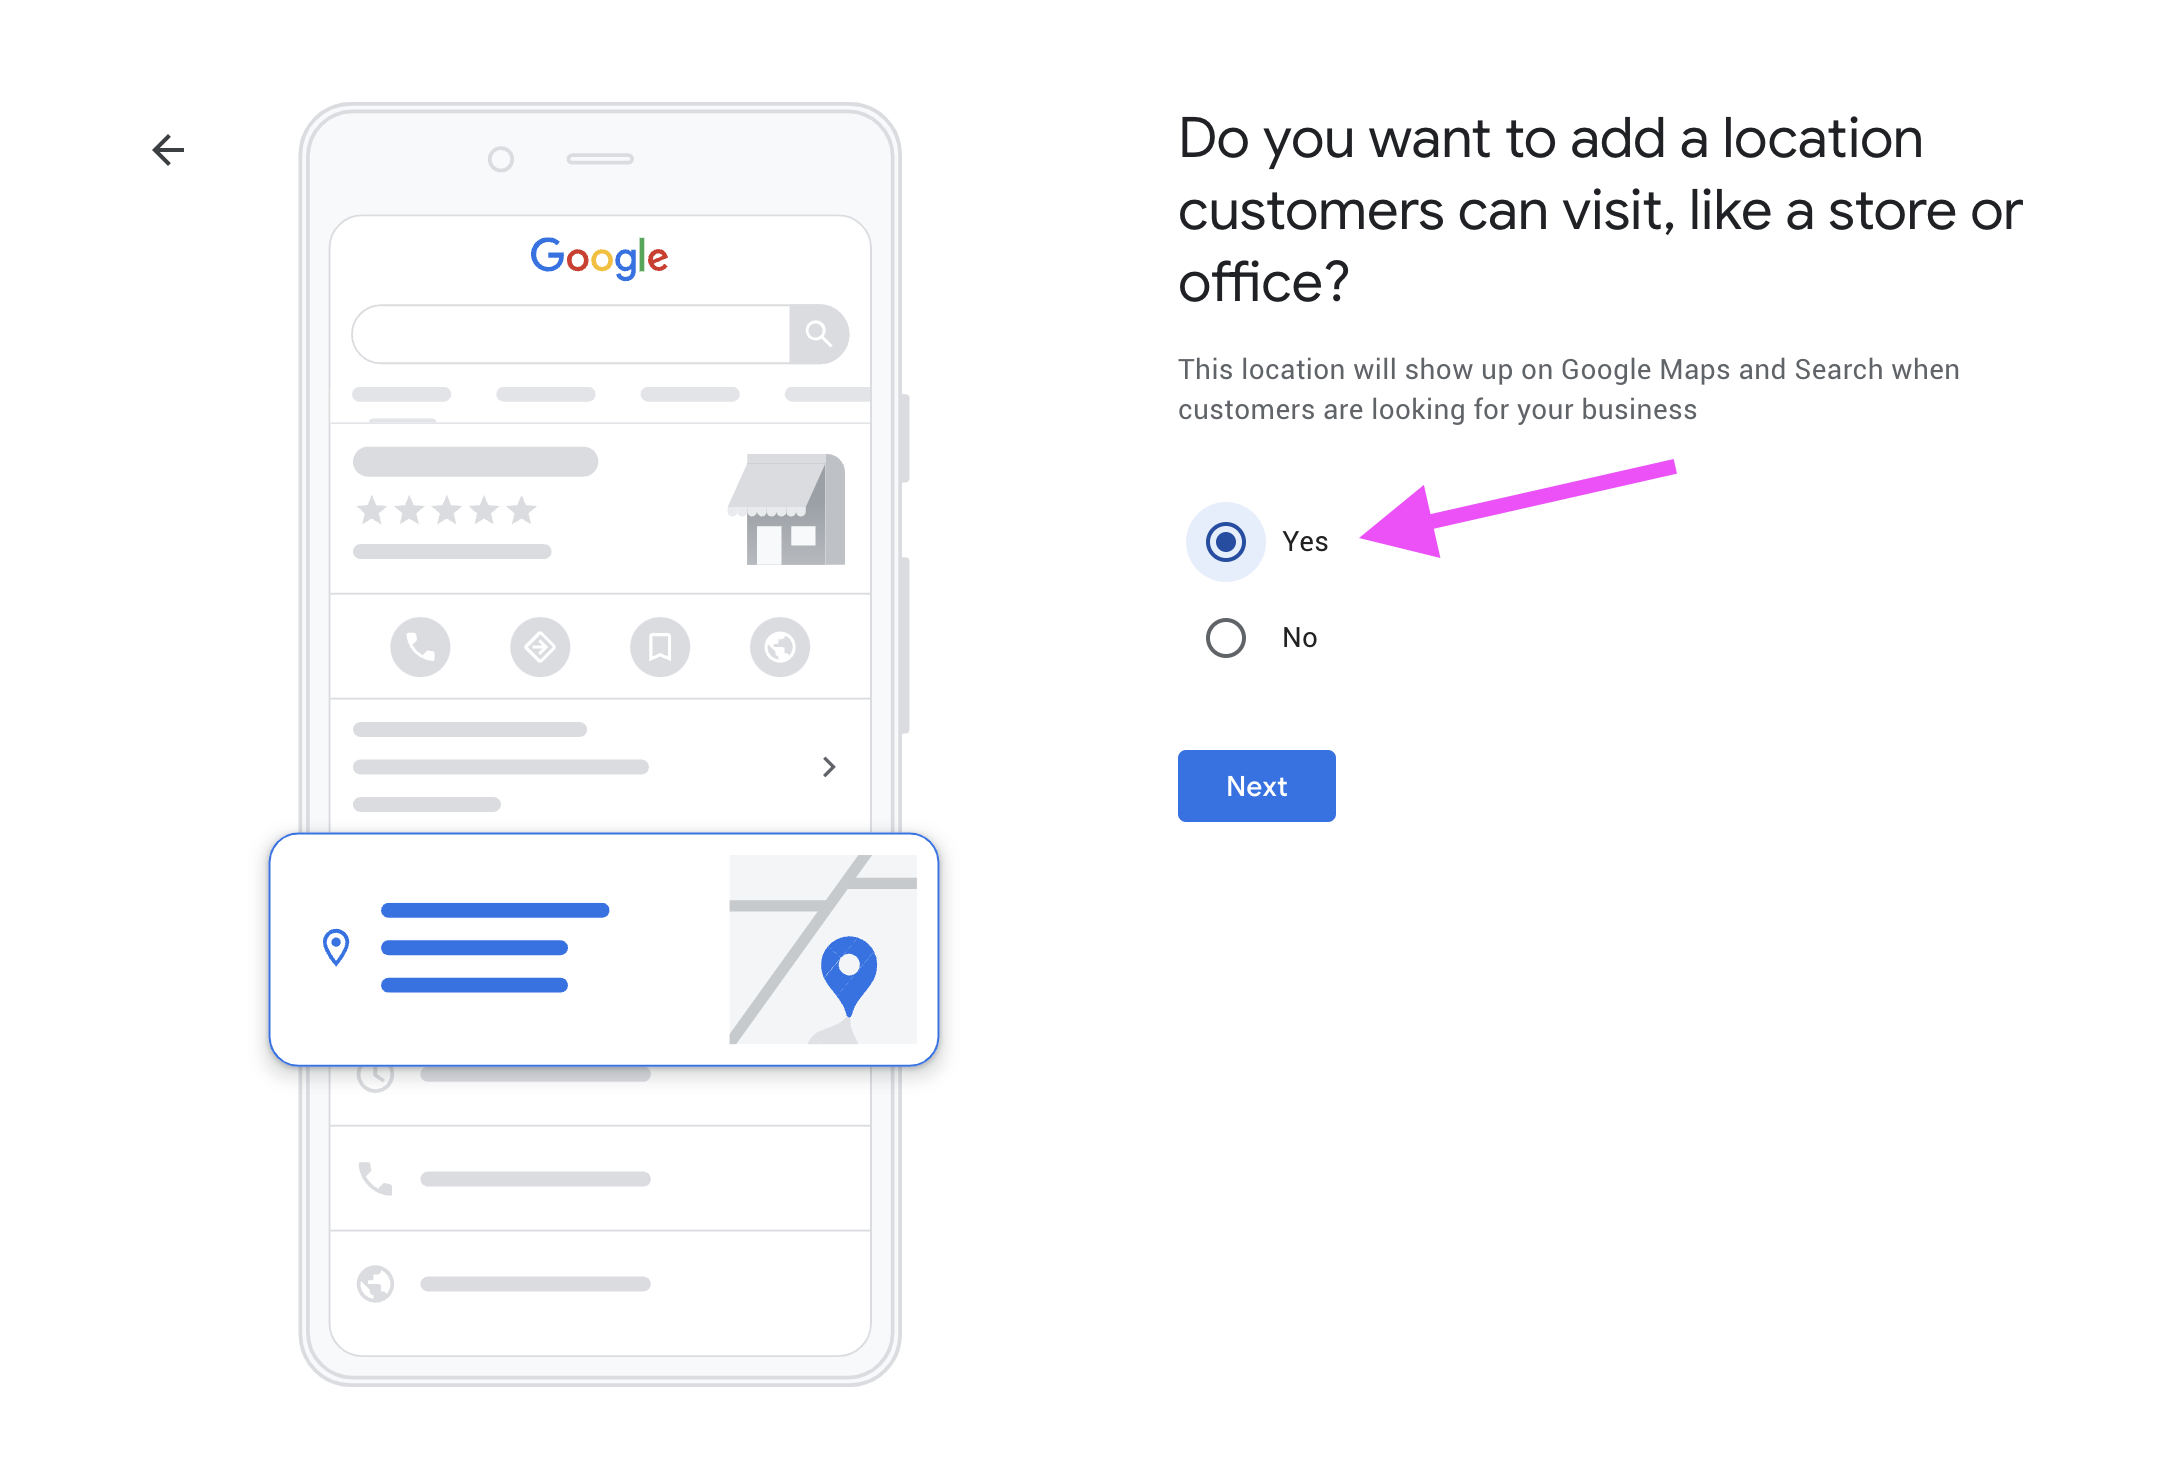
Step #5: Choose whether you have a location customers can visit.
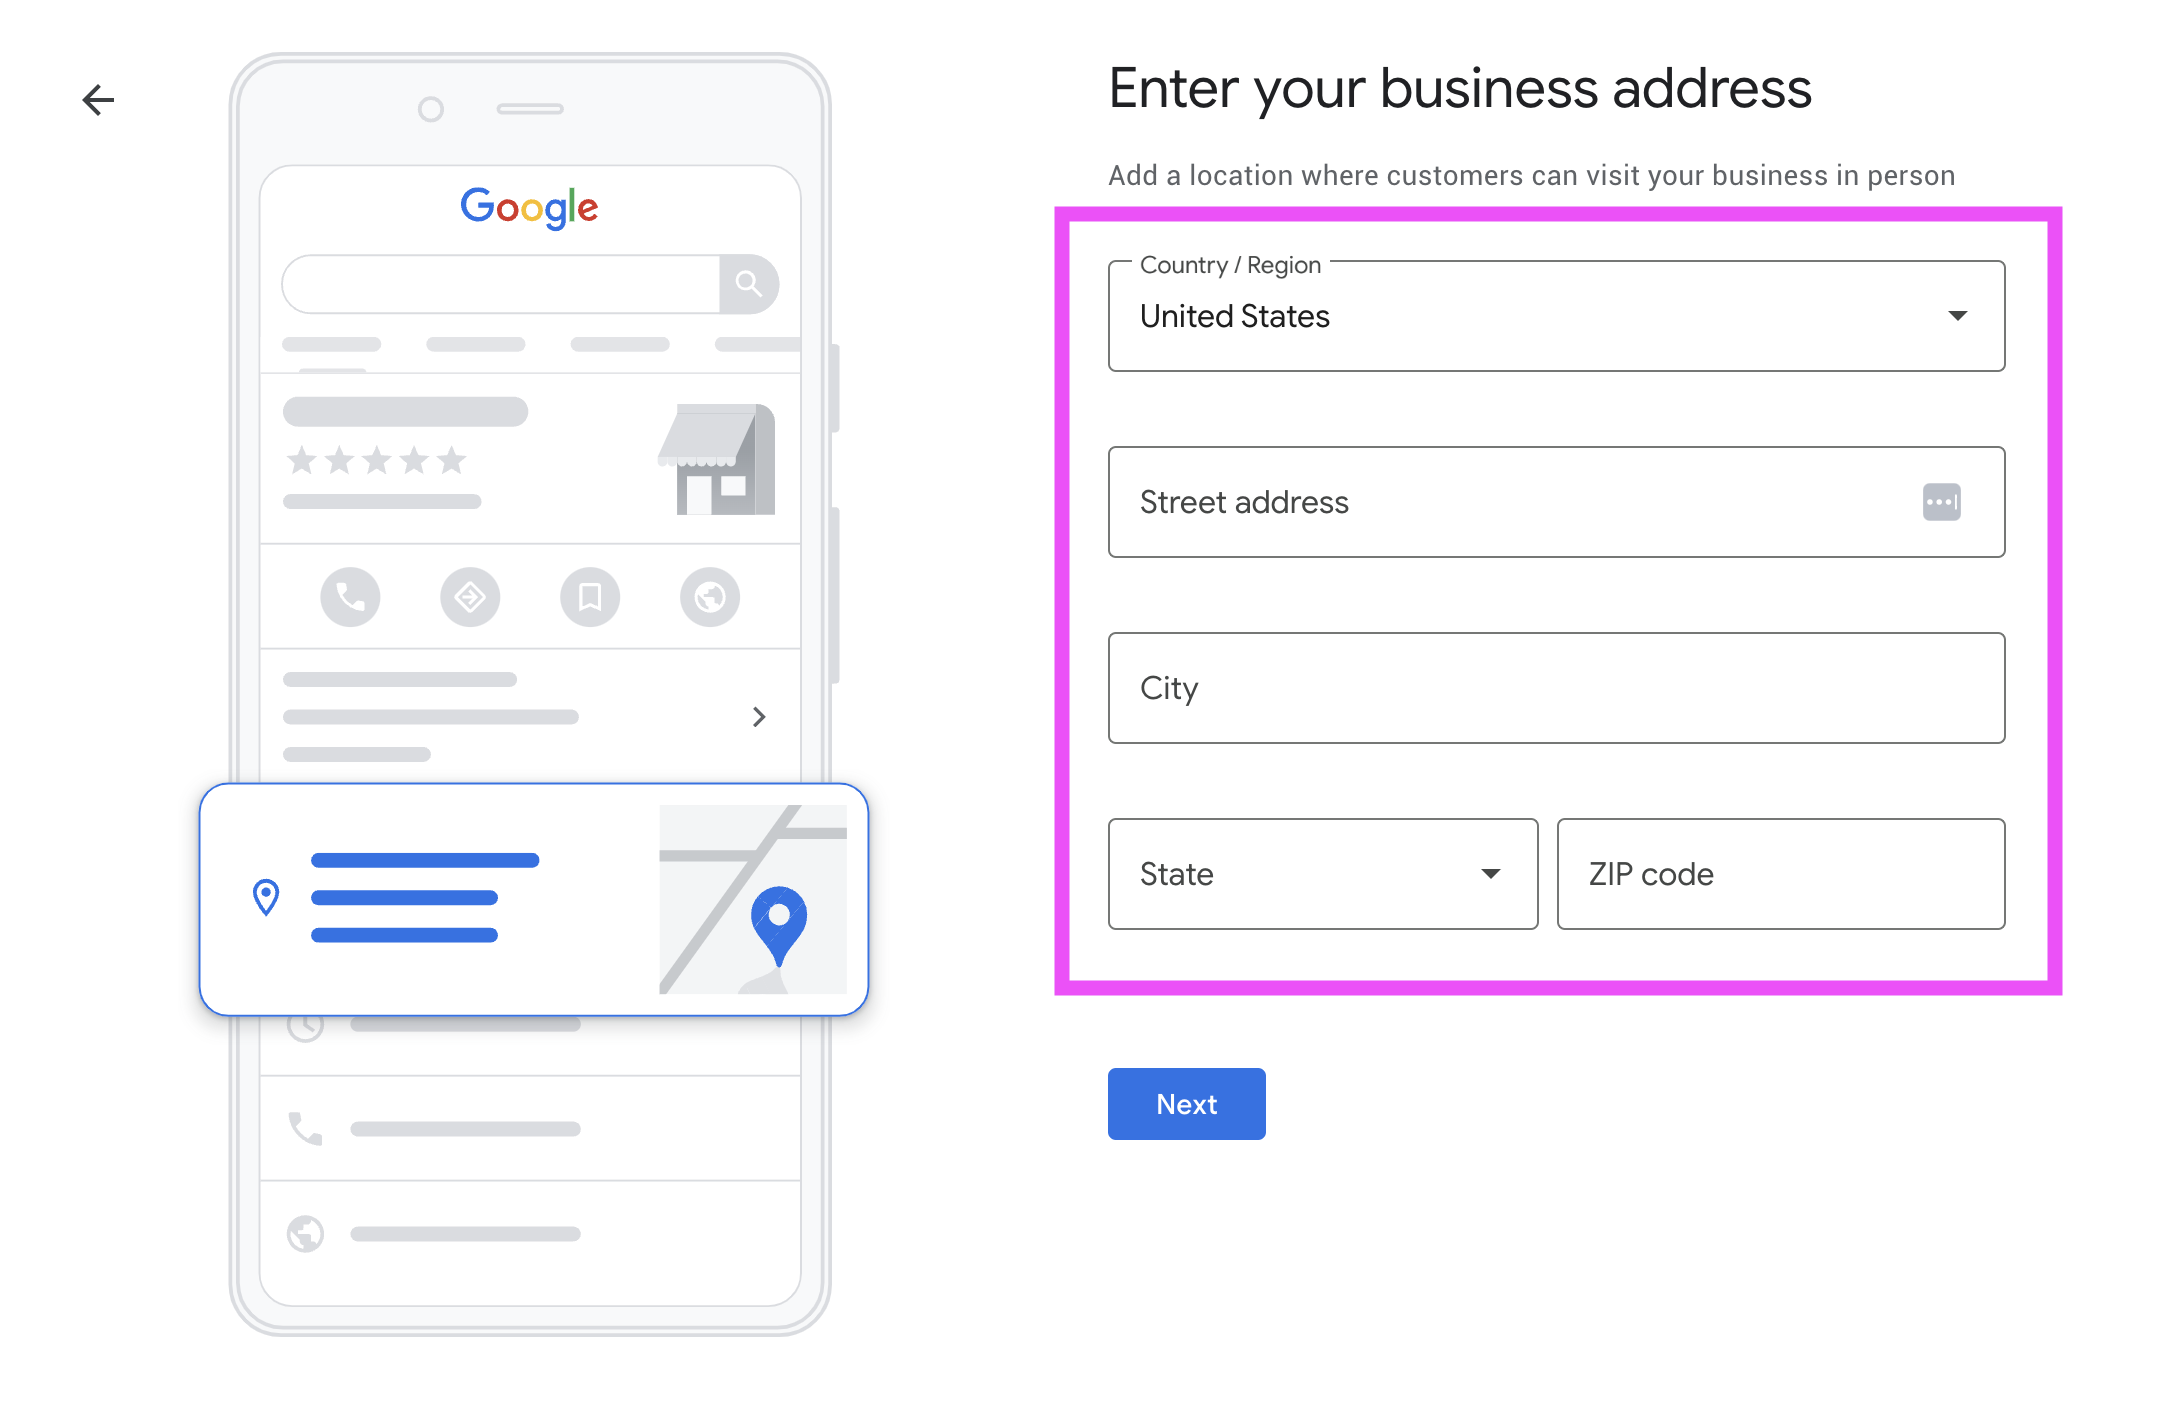
Step #6: Add a location where customers can visit your business in person
Step #7: Select yes or no for deliveries or visits
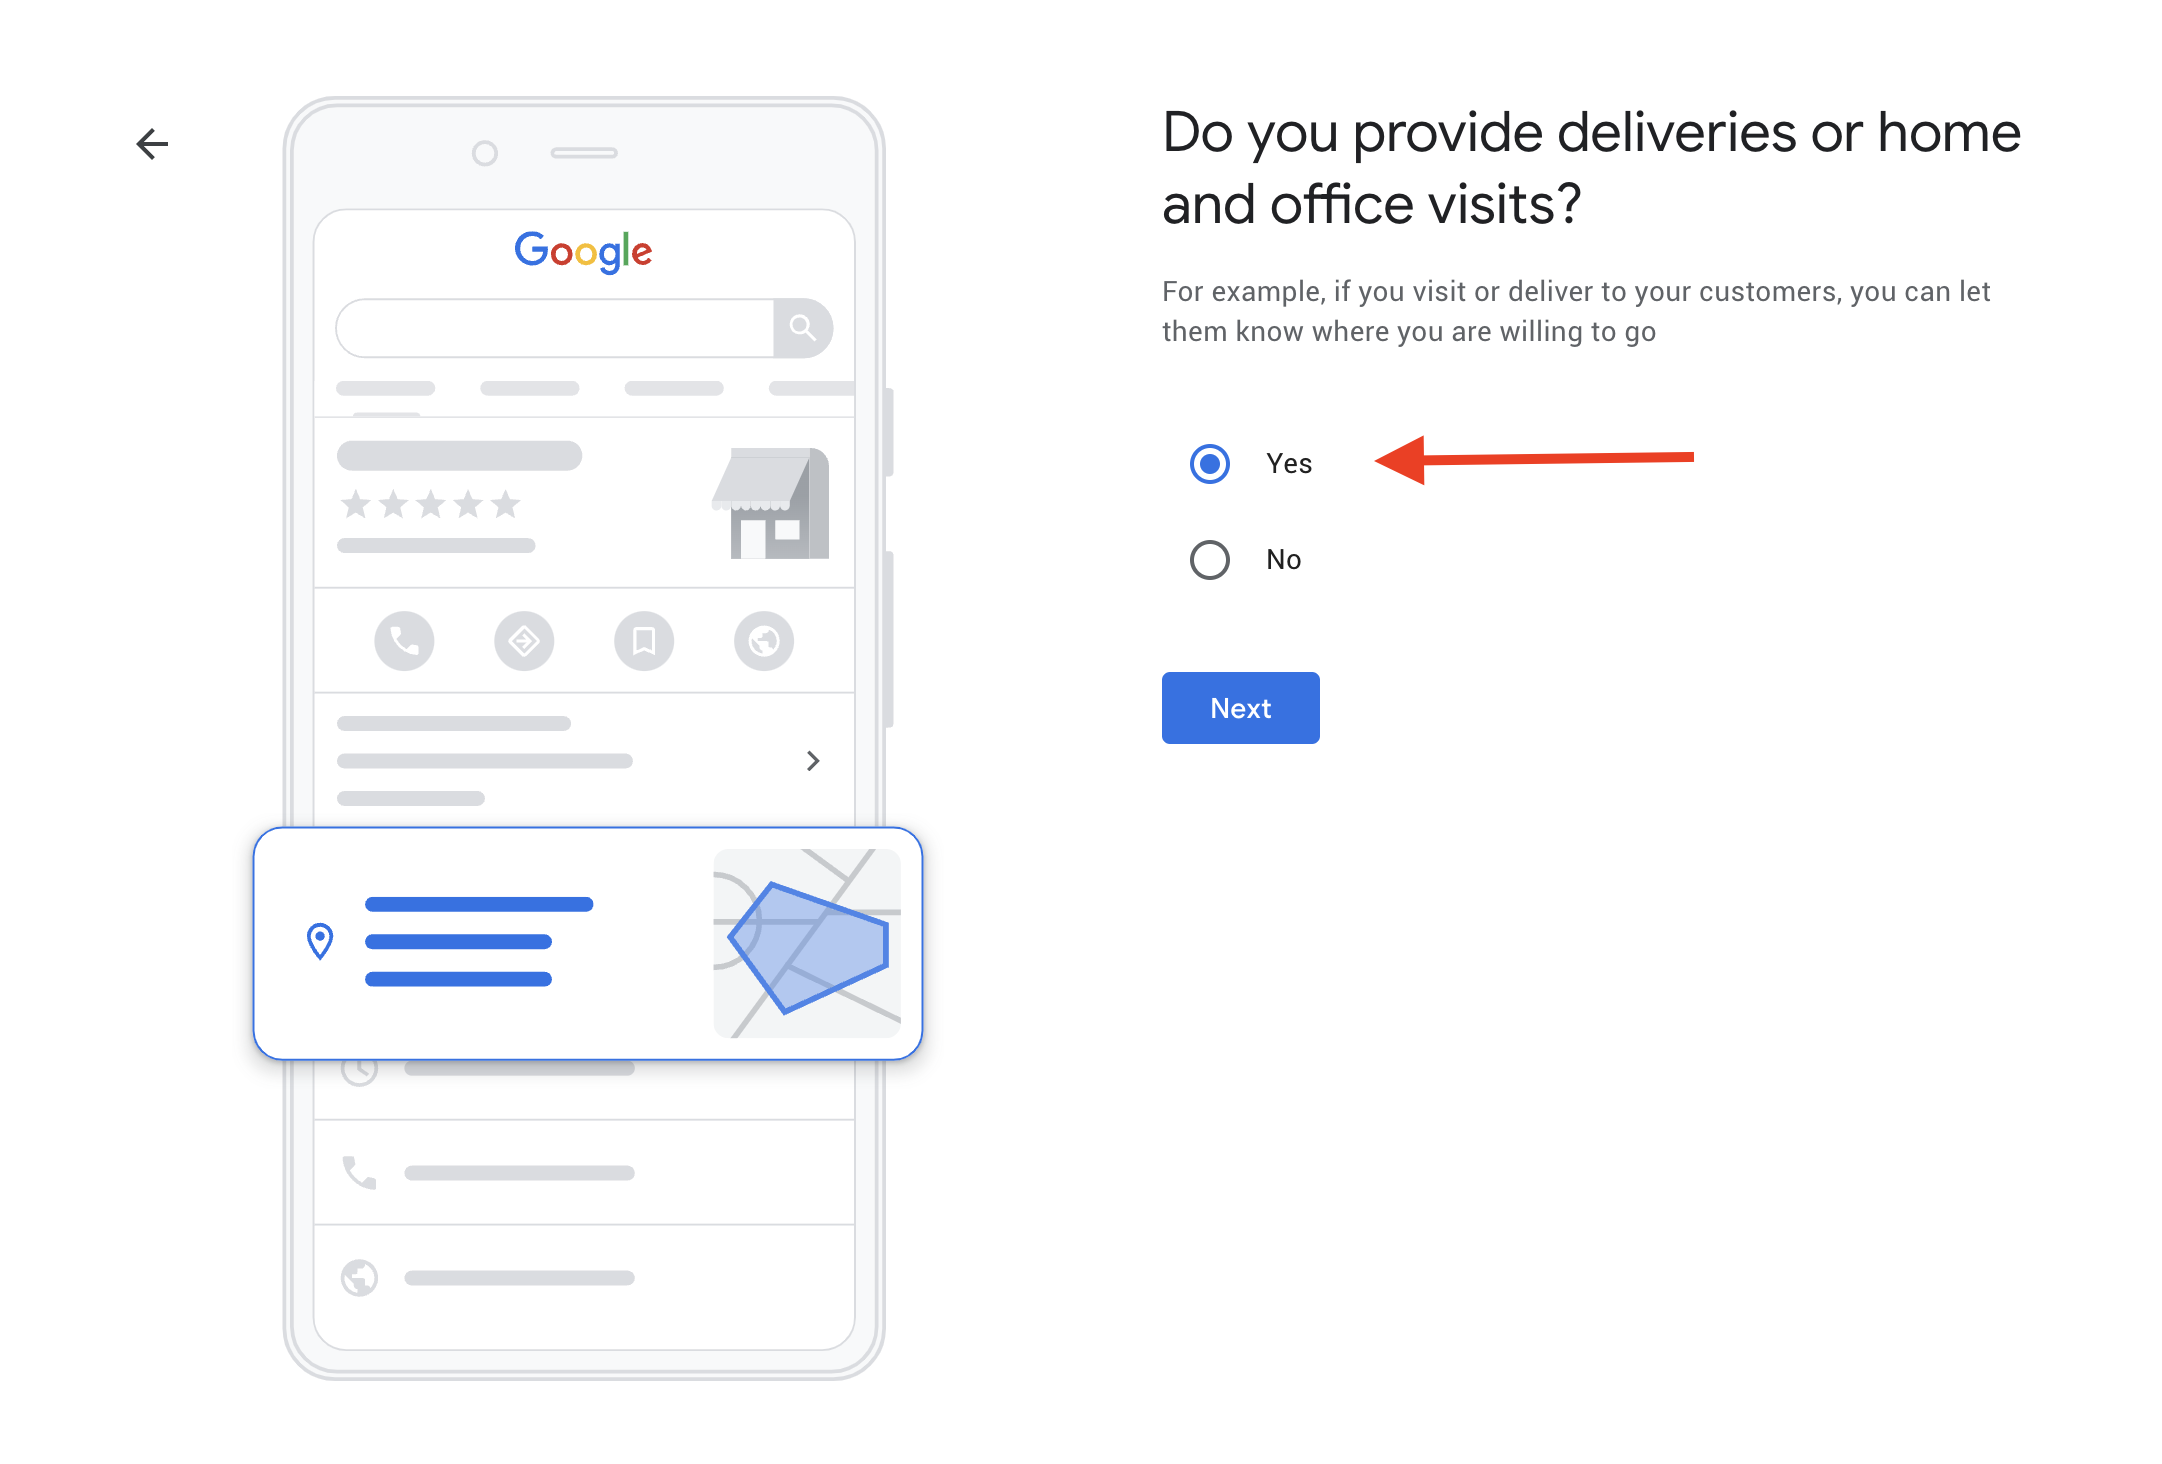
In my client's case, they do visit the client location to set-up their payment processing and they do deliver POS systems as well so this option would be Yes.
Step #8: Add the areas you serve (optional)
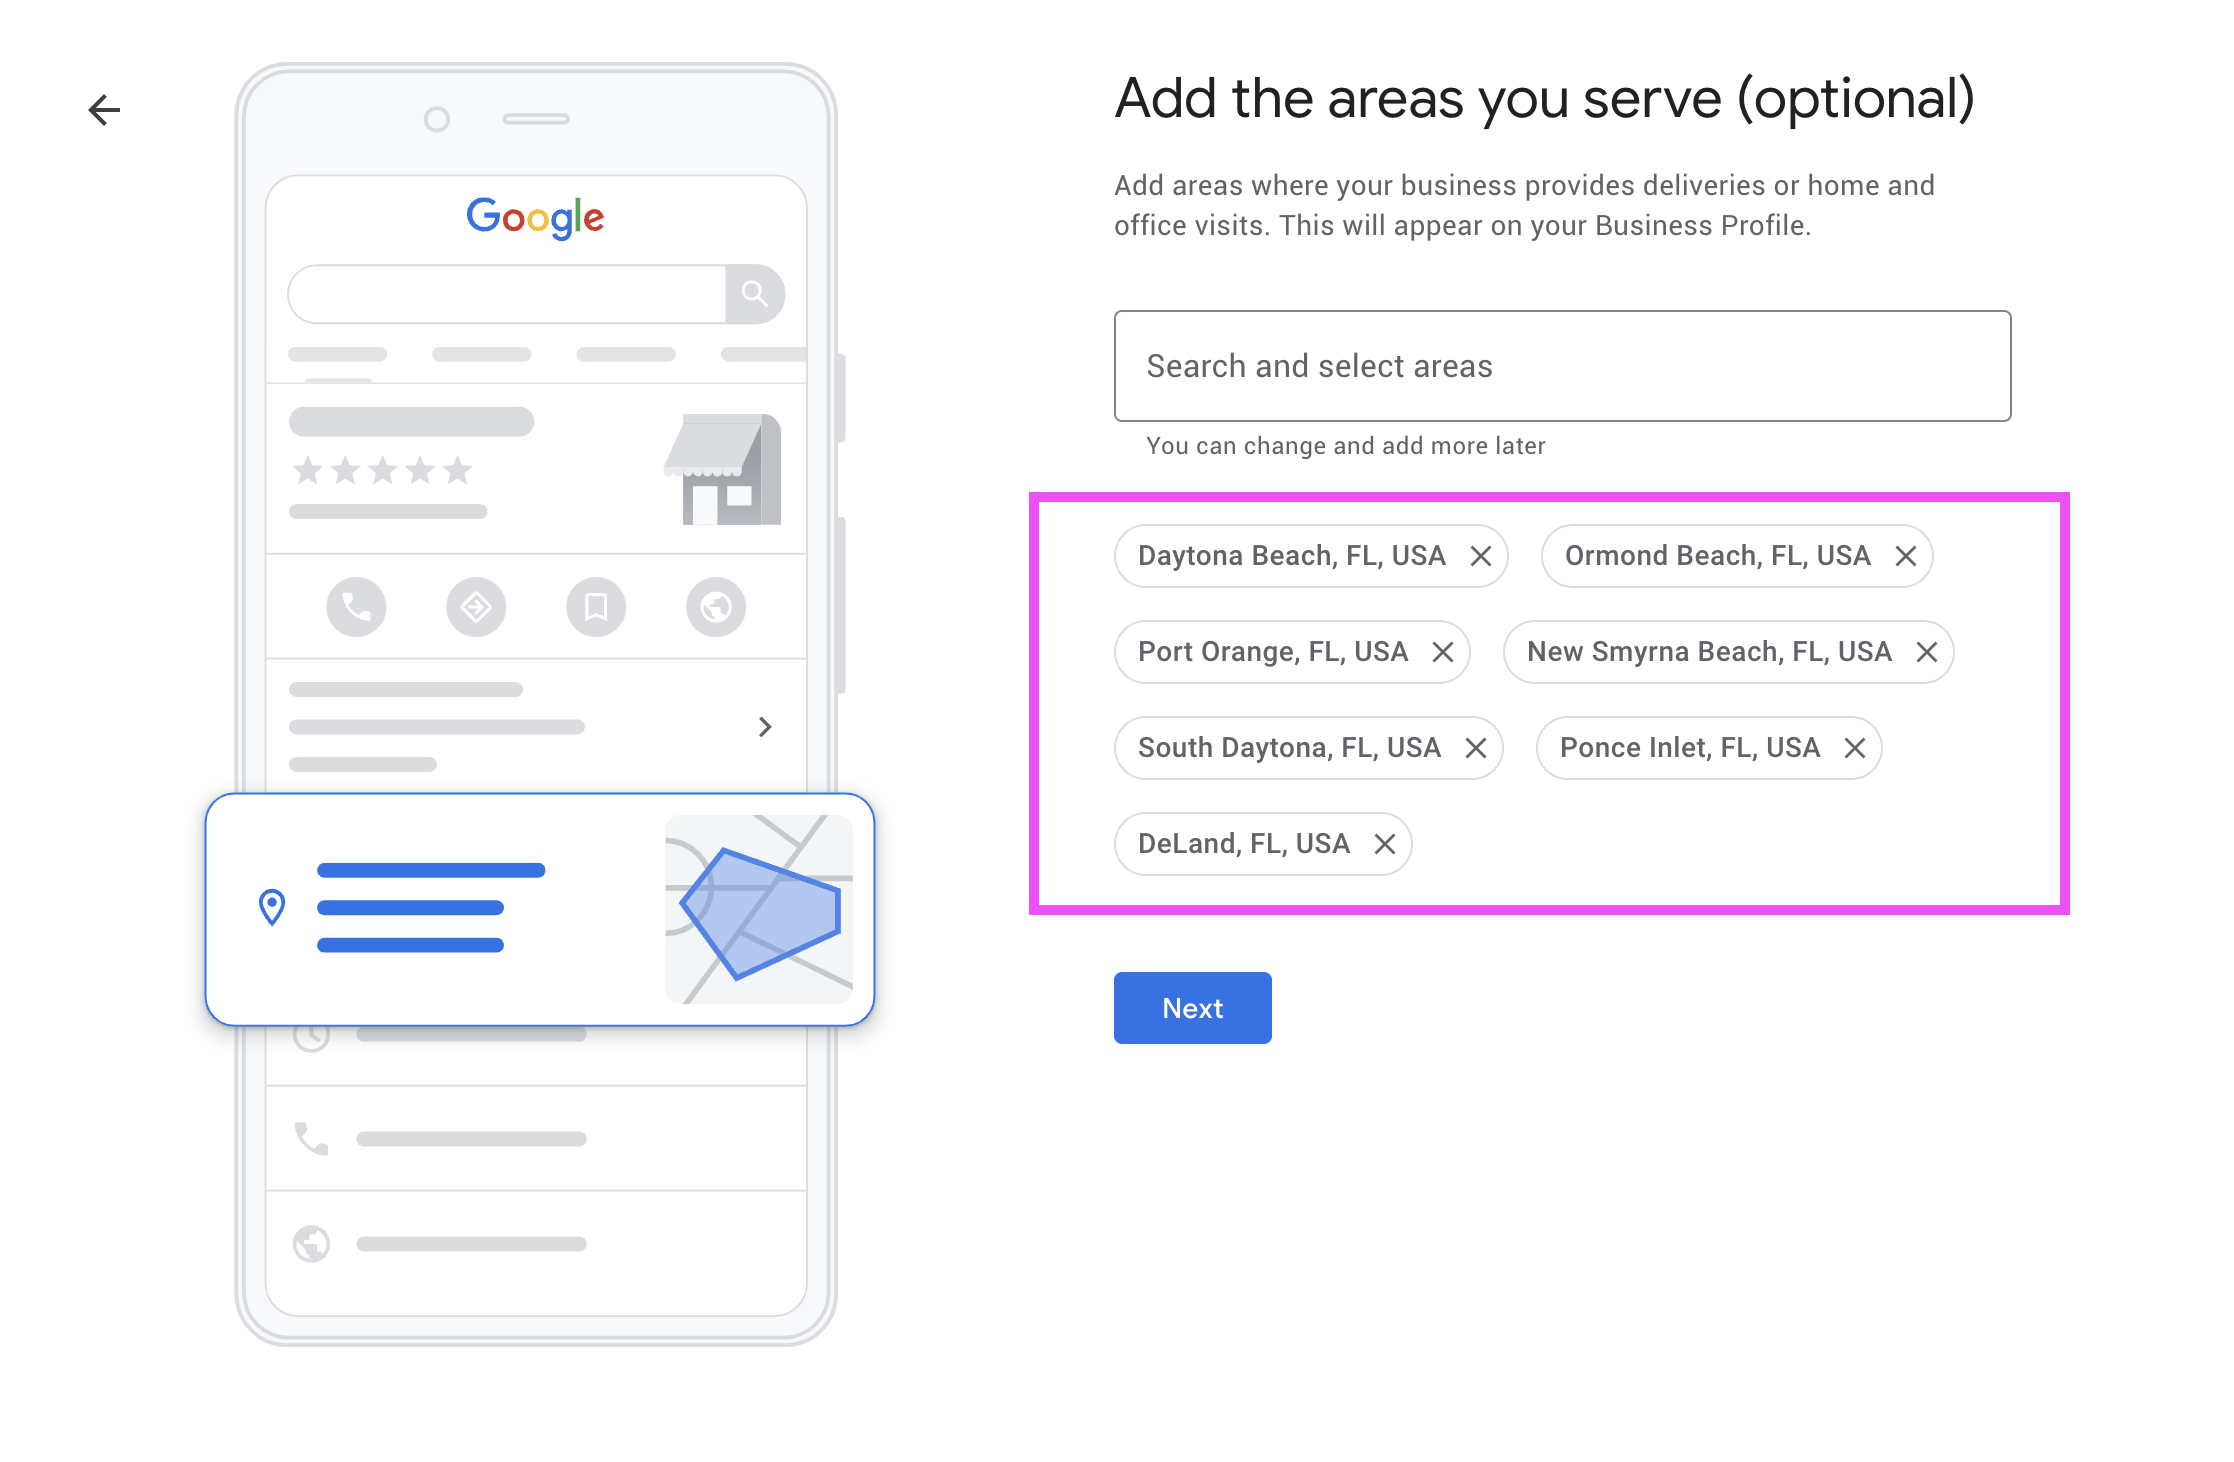
Enter all the areas where your business provides deliveries or home and office visits. Do not add areas where you don't serve.
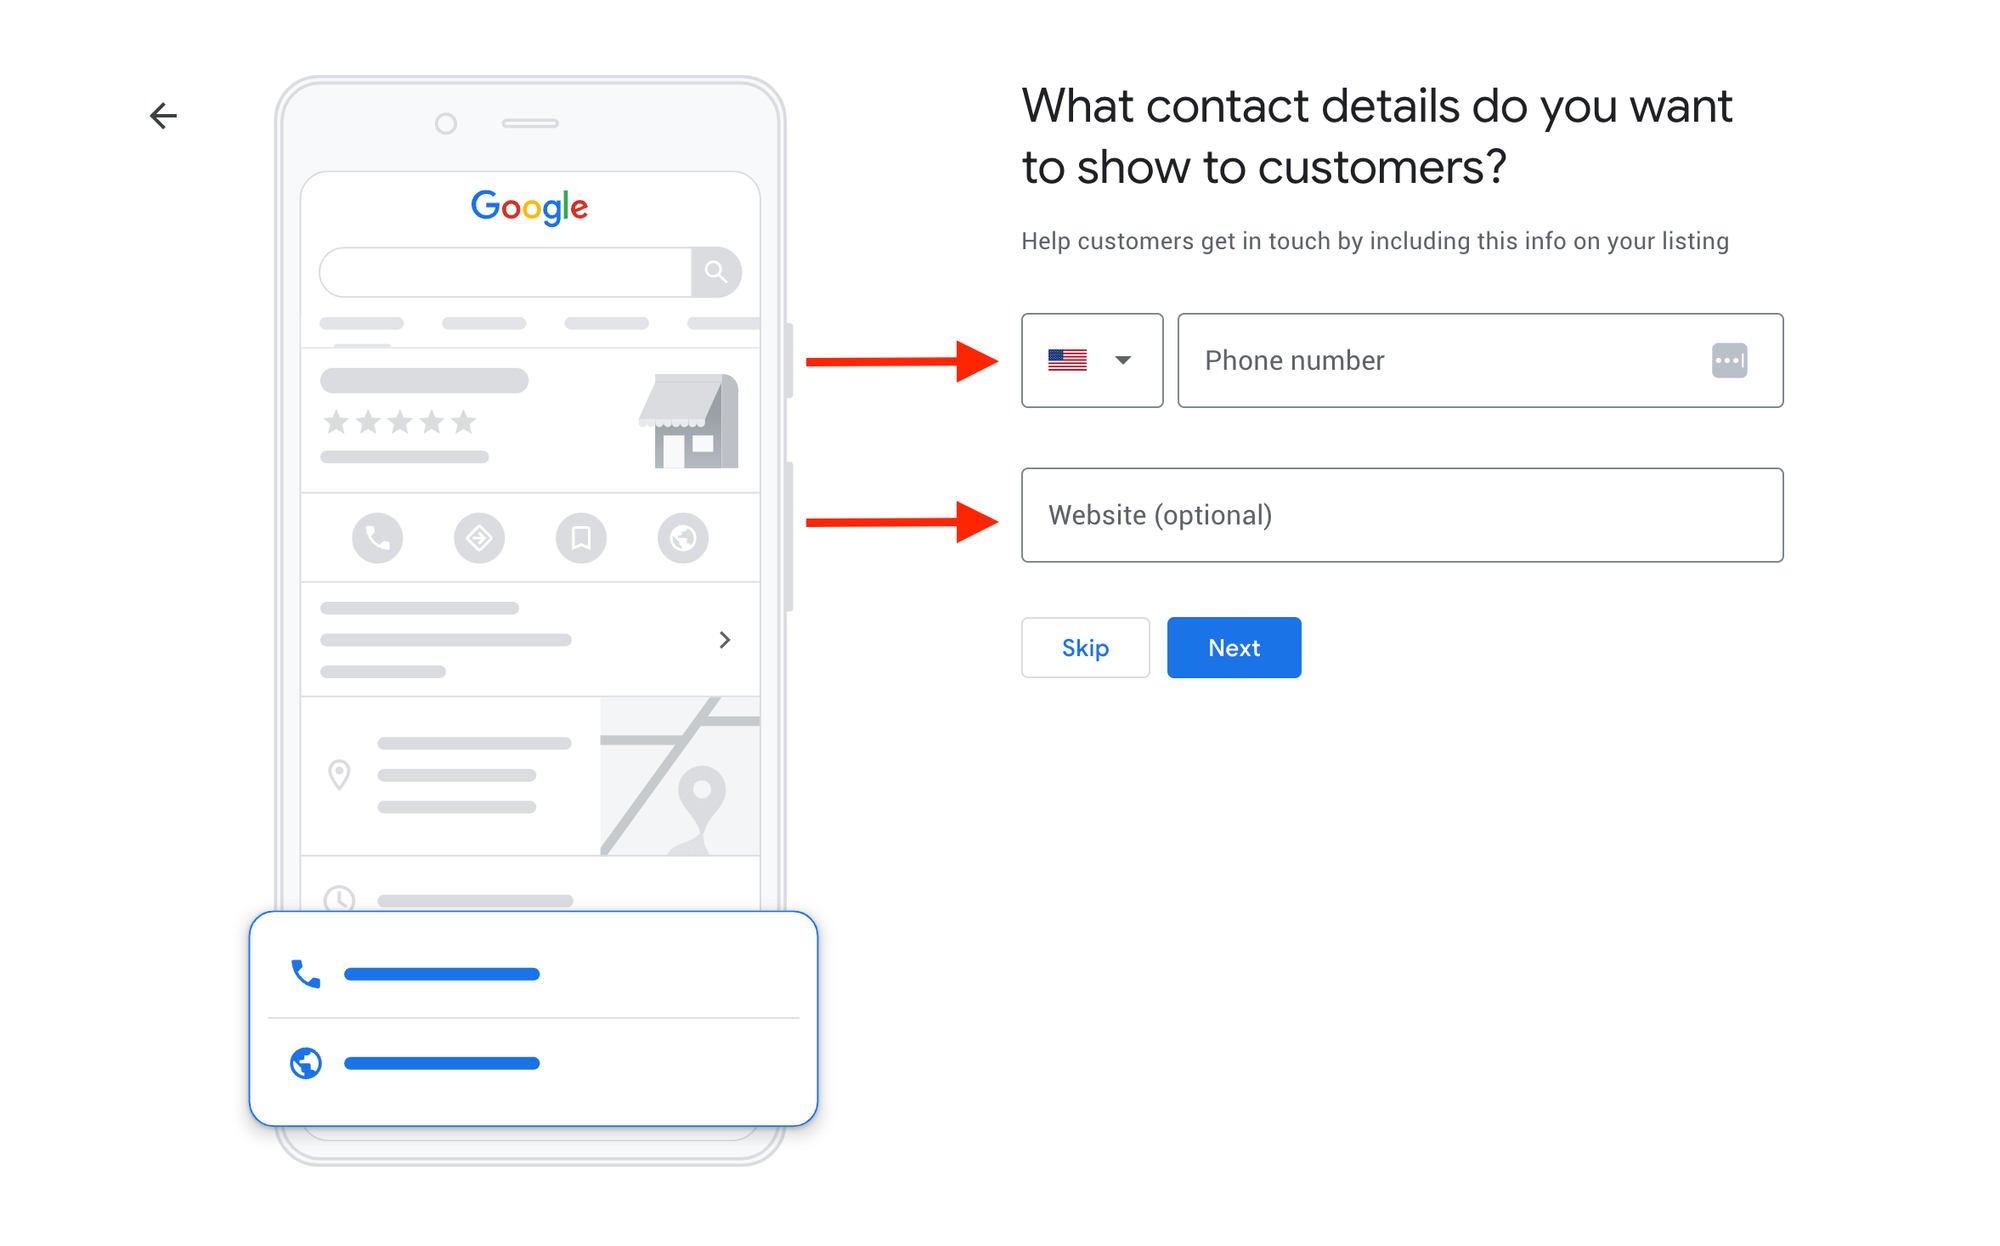
Step #9: Add your business phone number & website
Step #10: Select a way to get verified
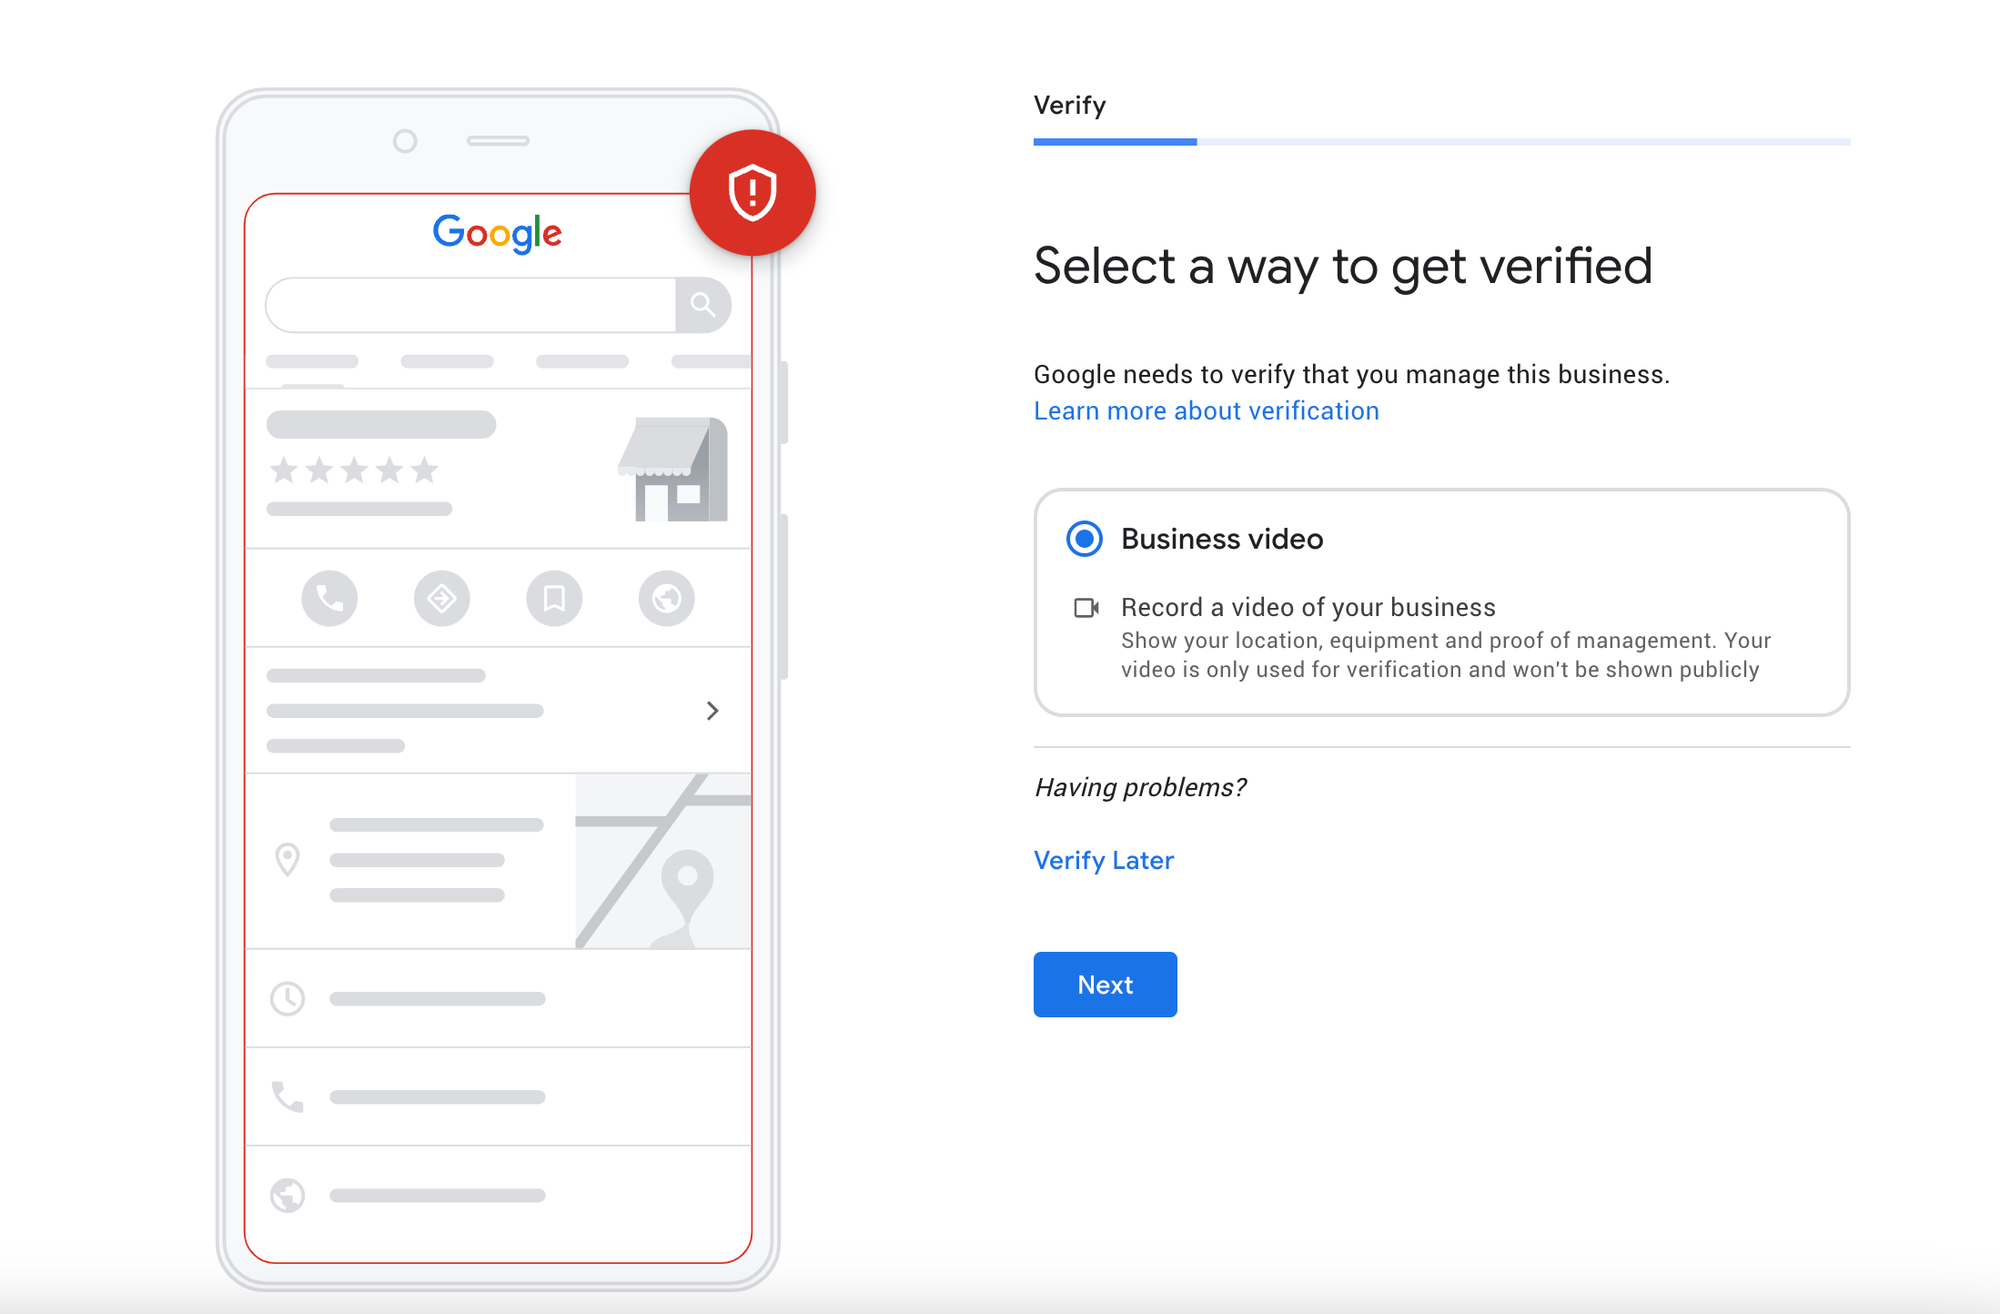
In some cases, Google will present you with multiple options or just one.
In this case, I have to provide them with video proof that the business exists. It's part of their fraud detection system.
If you are presented with other options such as:
Text: You can give them your phone number and they will text you a verification code.
Email: You can give them your business email address and they will send the verification code via email.
Address: You can mail the physical pin in a letter form at your office address
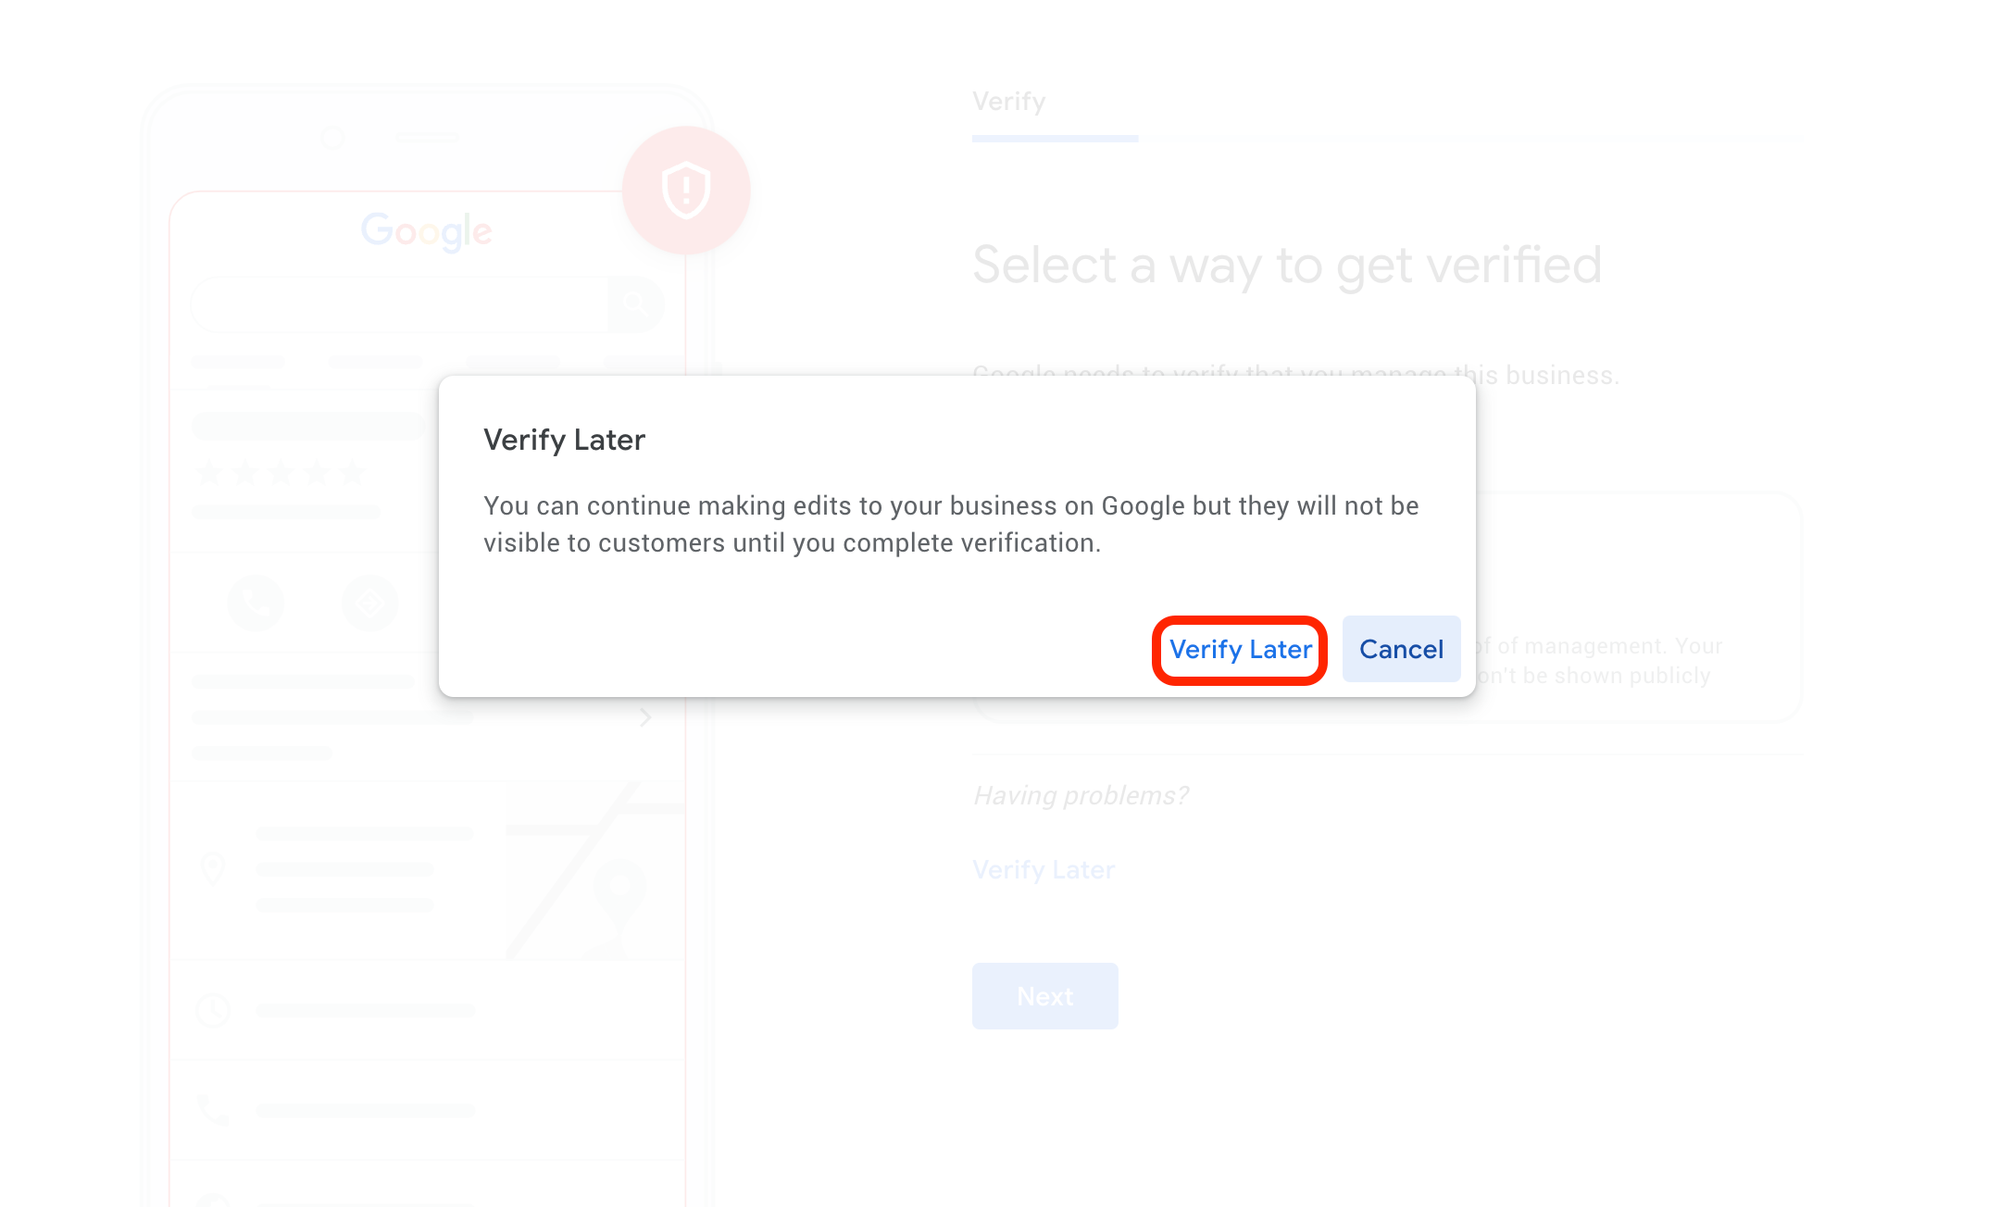
If you decide to verify later or choose an option to get a verification pin mailed out to you, you can just click verify later and move forward with optimizing the listing.
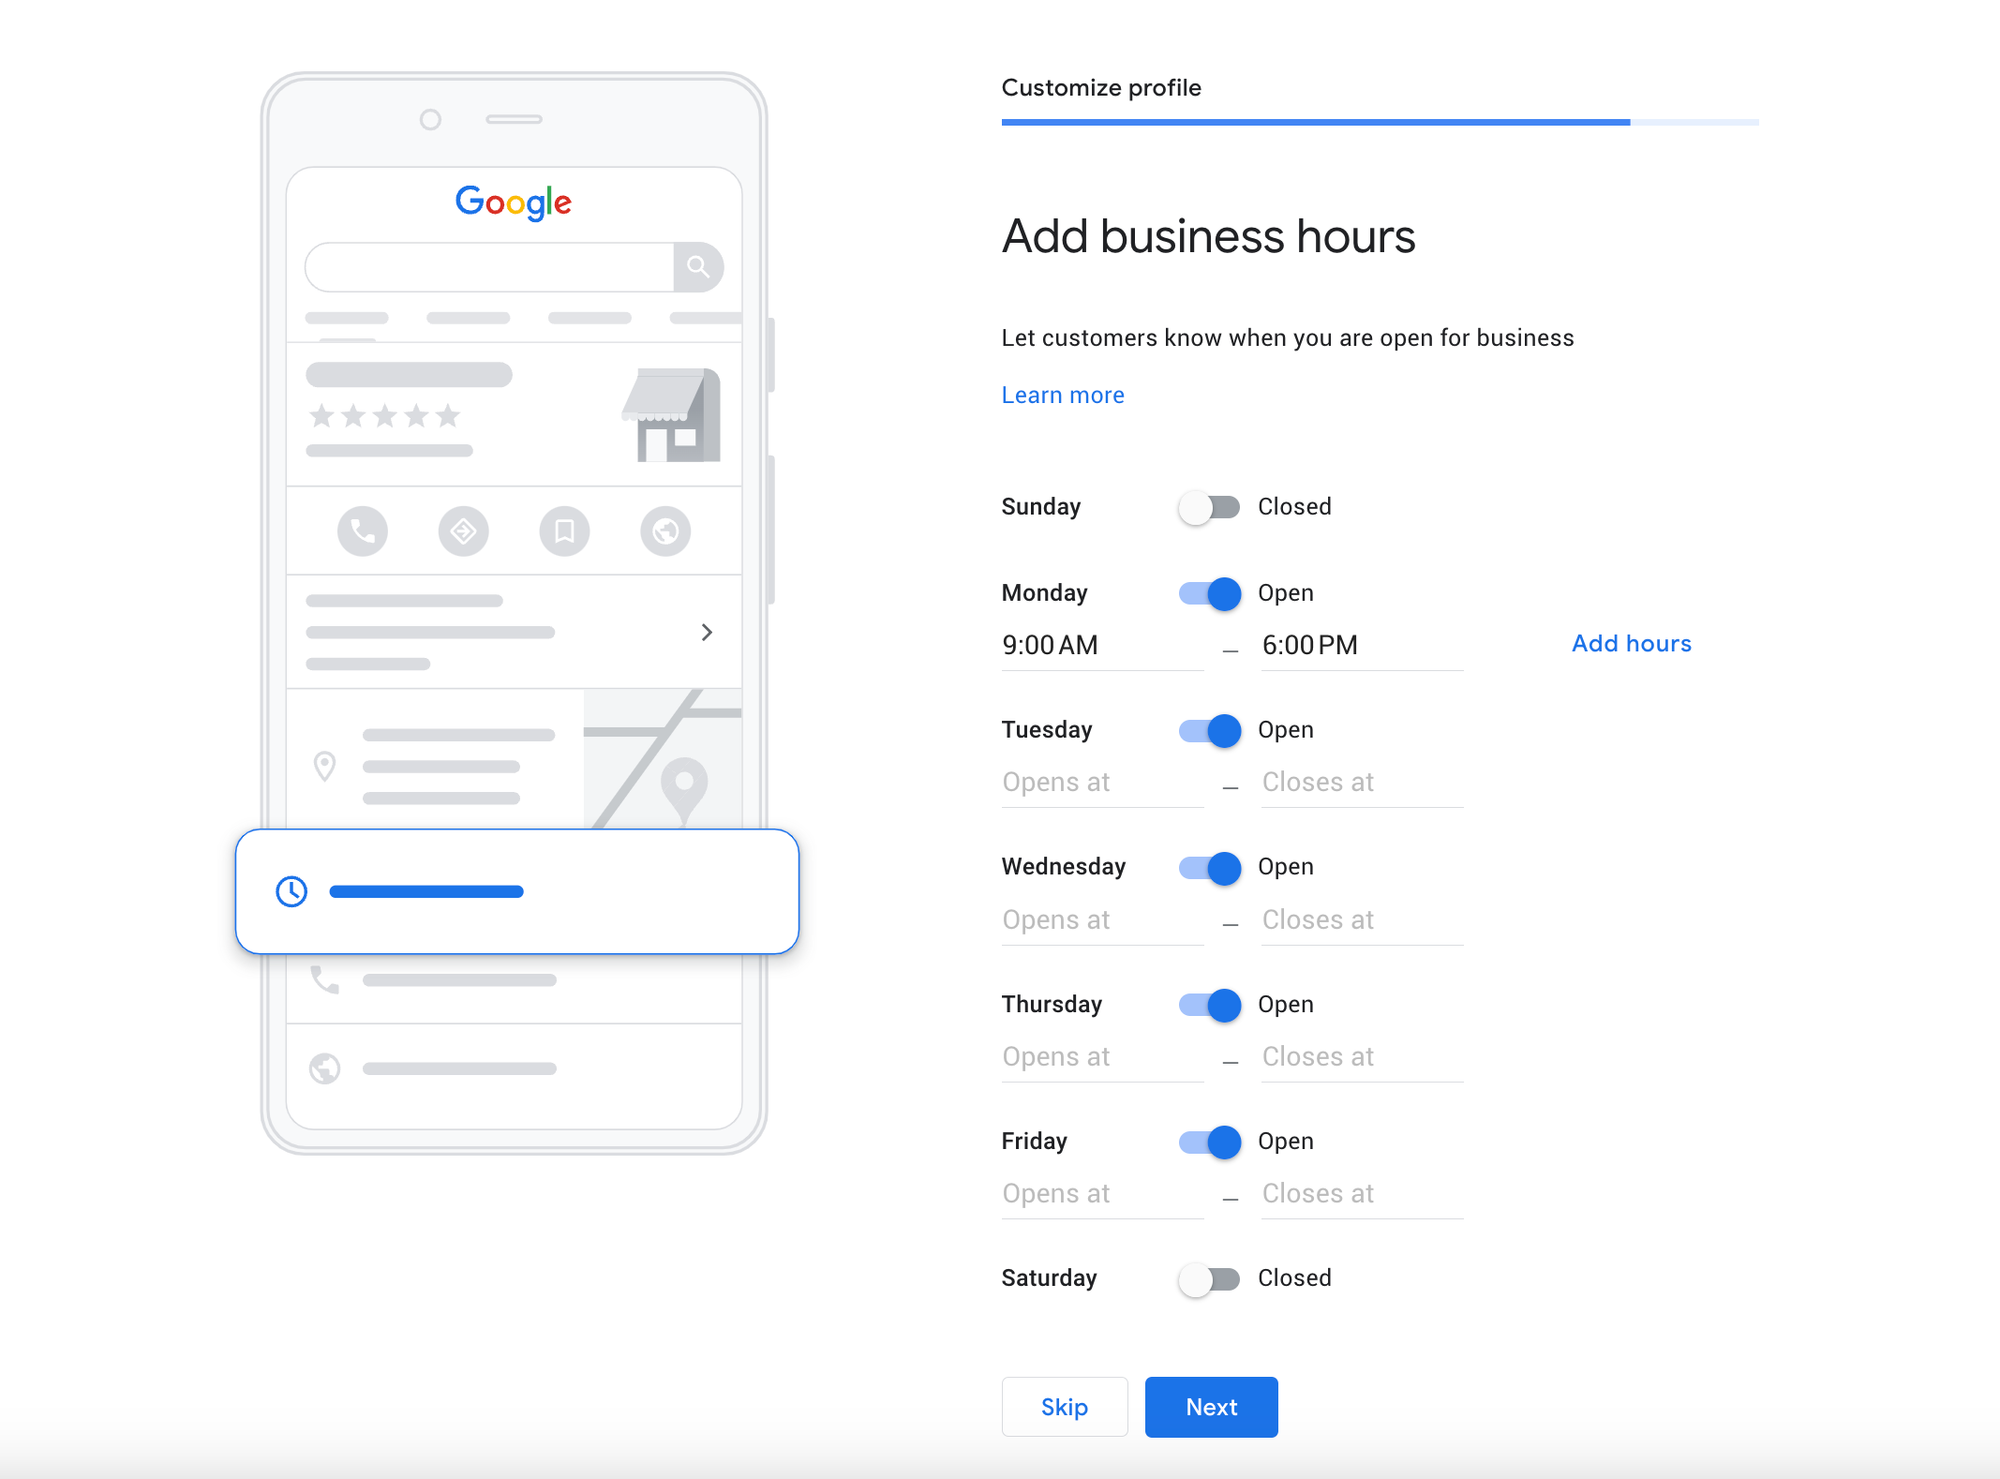
Step #11: Add business hours
Step #12: Add the messaging option
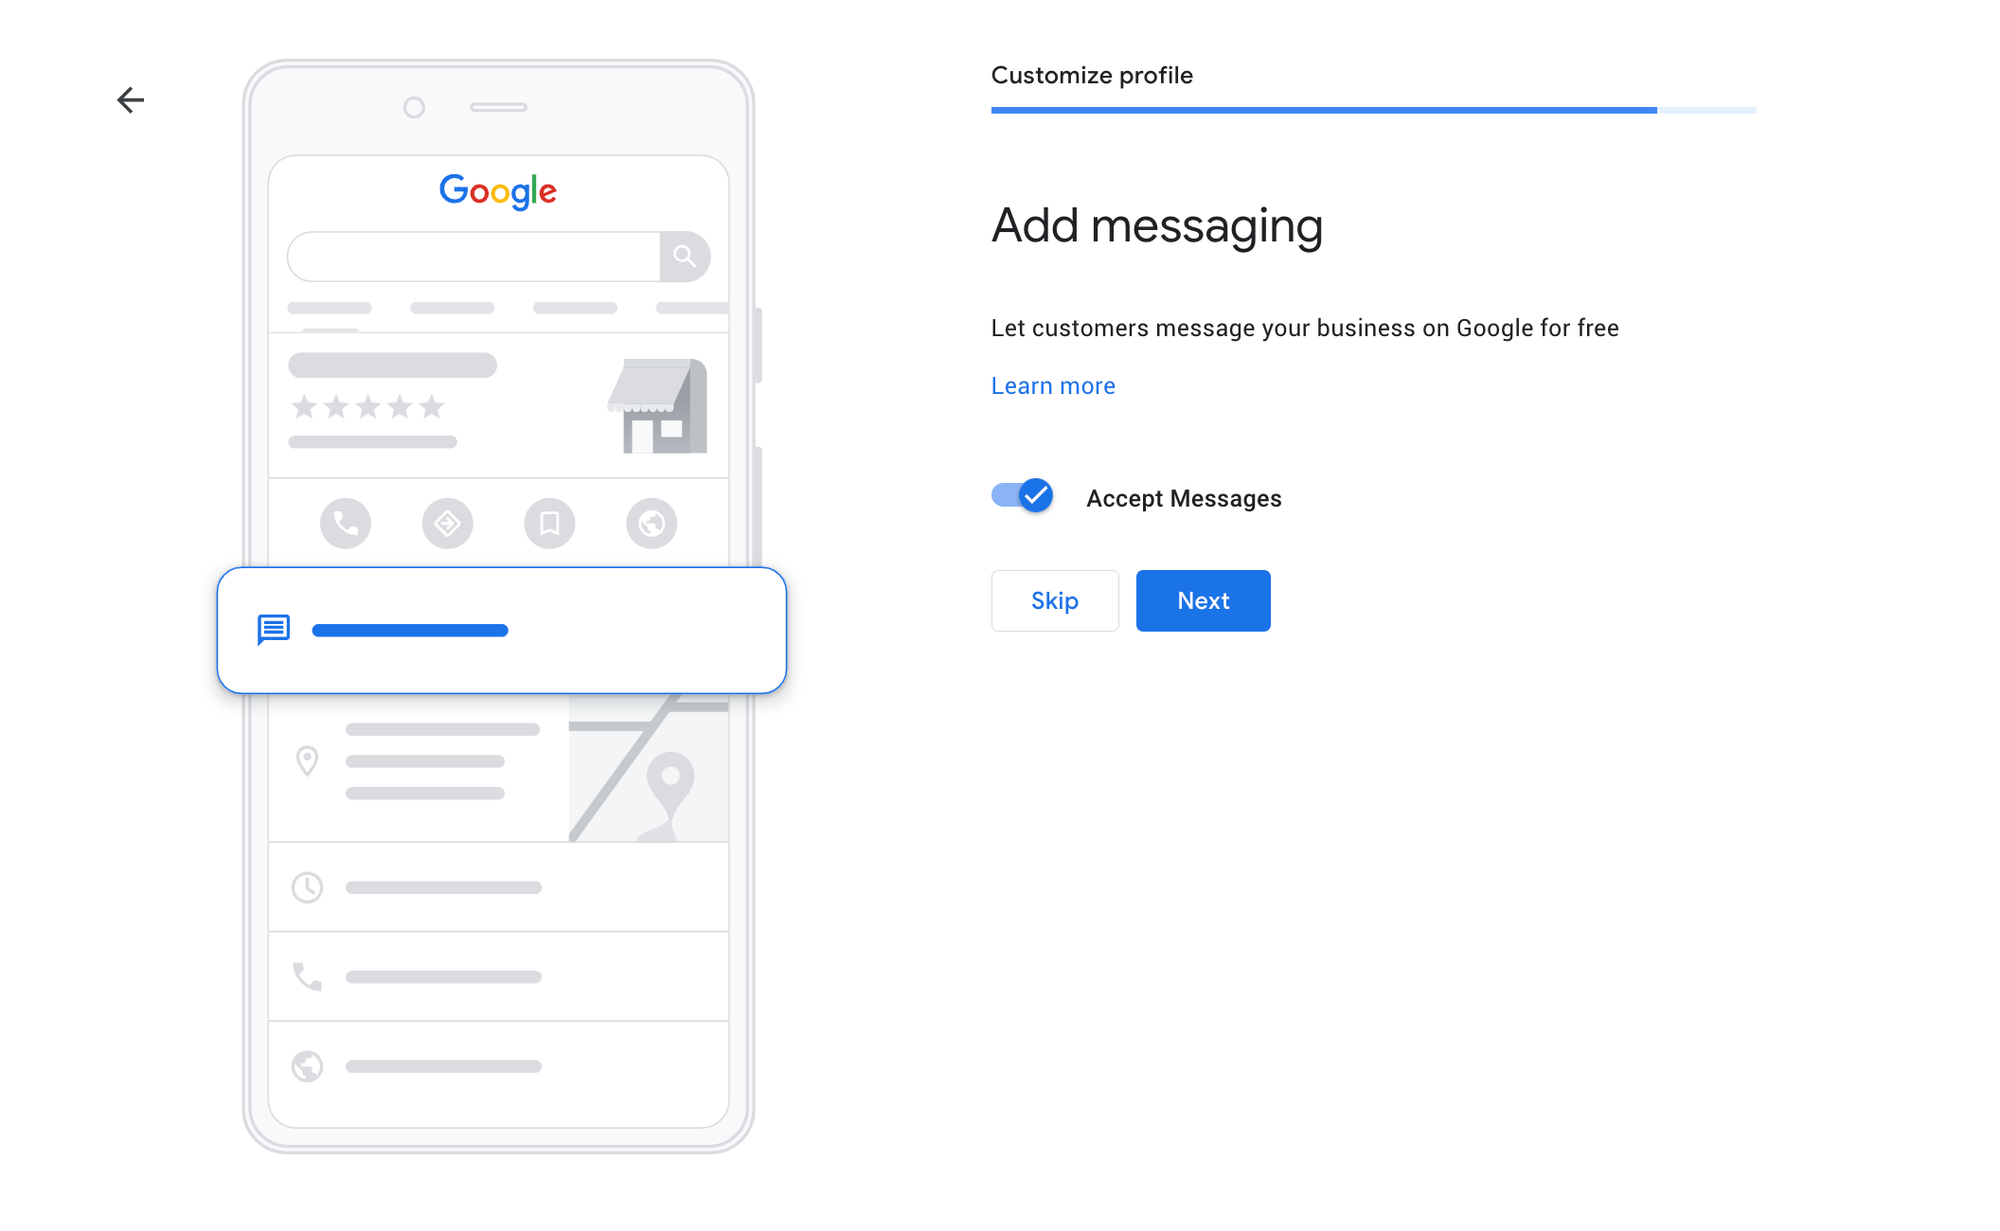
This will allow your customers to directly message you through your Google Business Profile. Any modern-day business should enable this option as this shows Google that you are willing to take care of their users.
Step #13: Add business description
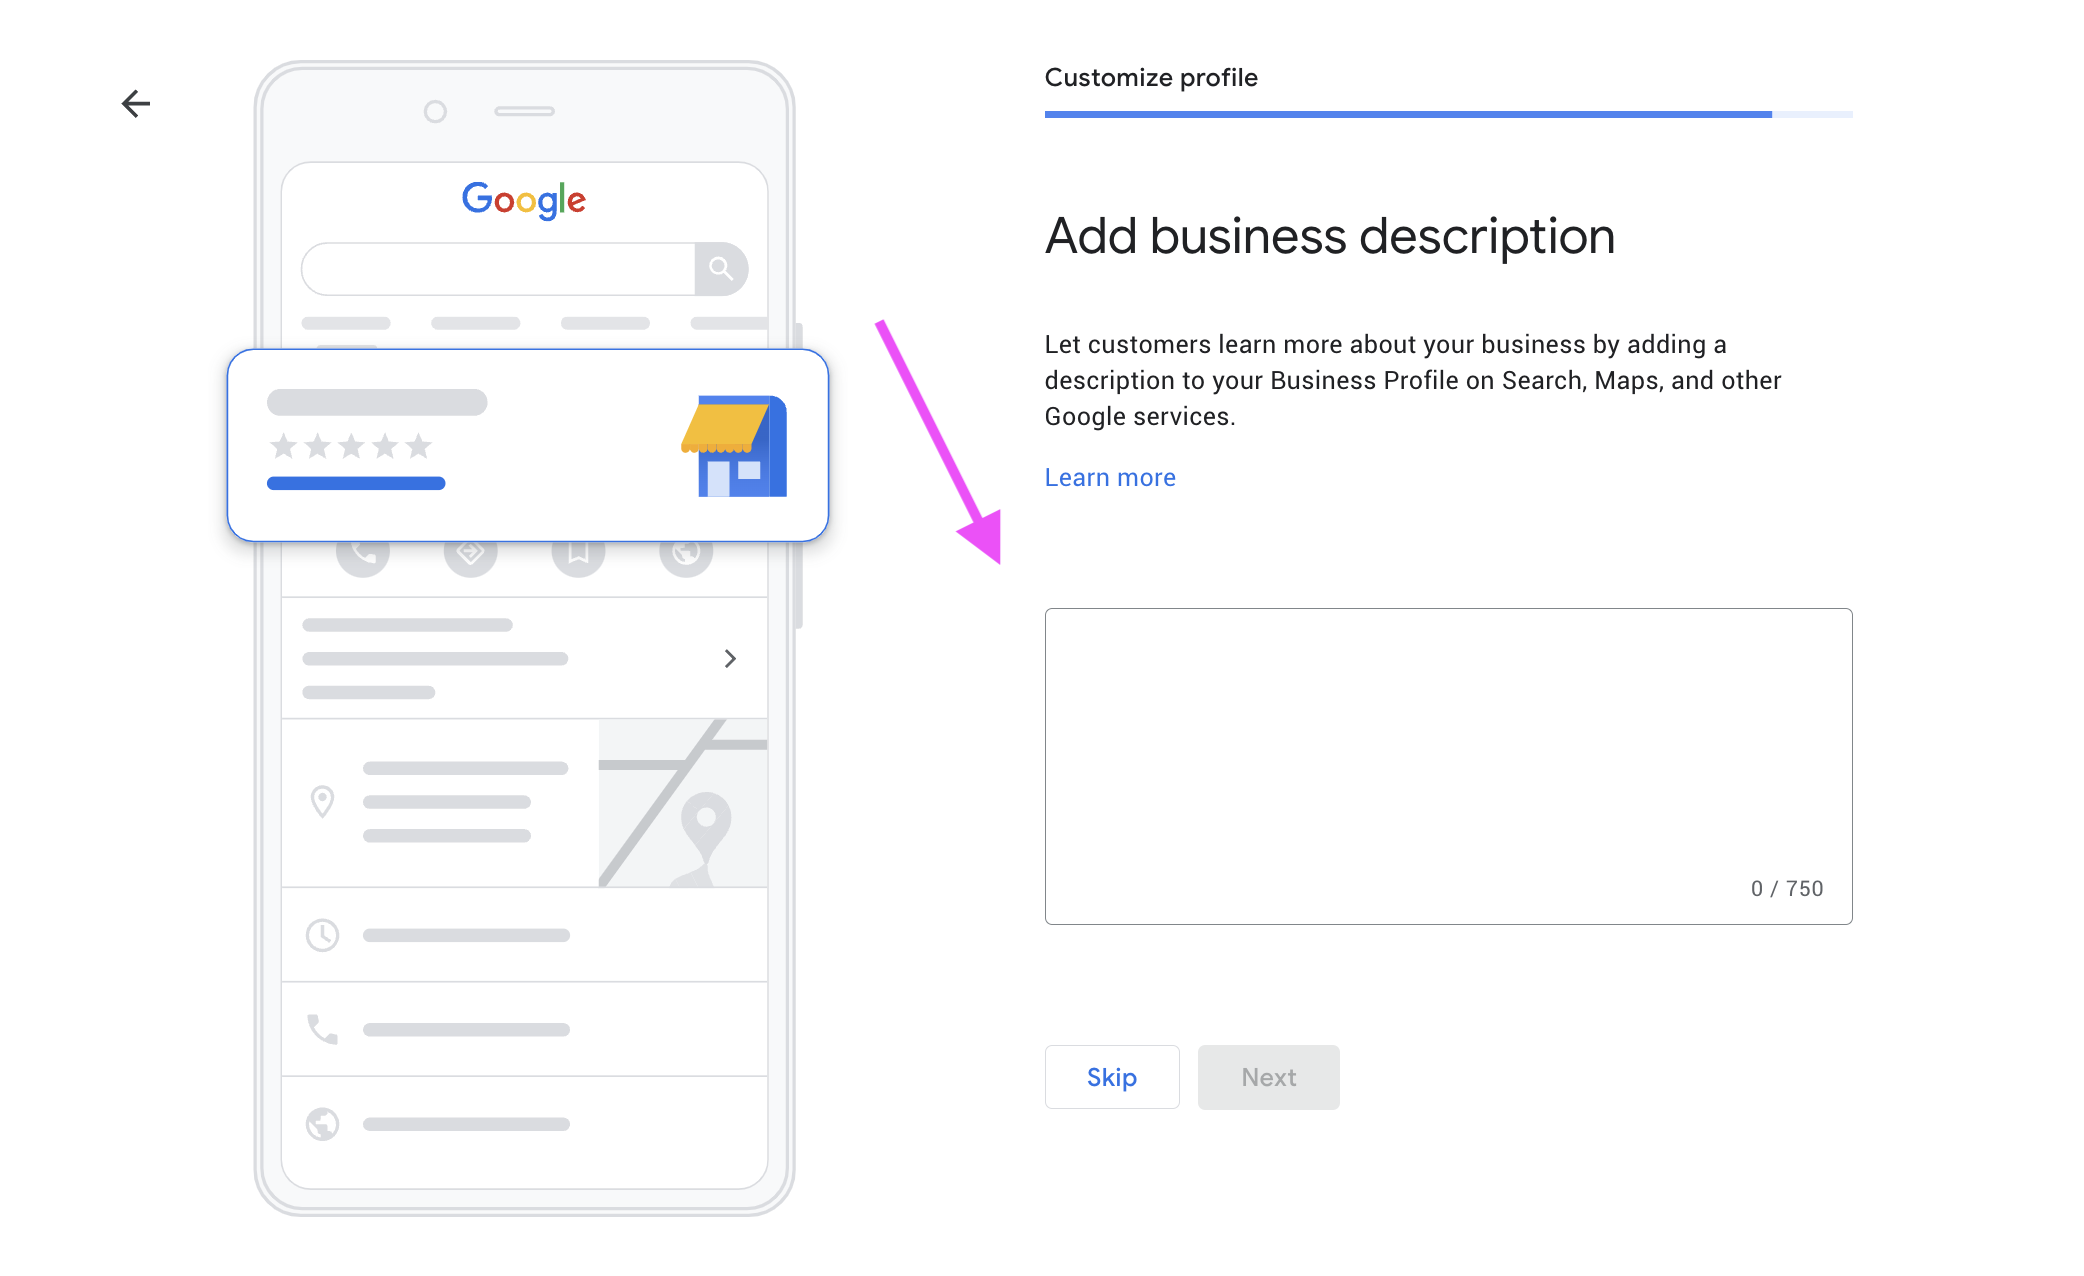
This section completes your business profile. It lets your potential customers learn more about your business, which will be visible through regular search results, maps, and other Google services.
Tips For Business Description: If your business description is too long, you can use Chat GPT or Gemini to shorten it down to 750 words. Even if you don't have a description for your business these AI tools can help you write it so no need for you to stress.
Step #14: Add photos of your business
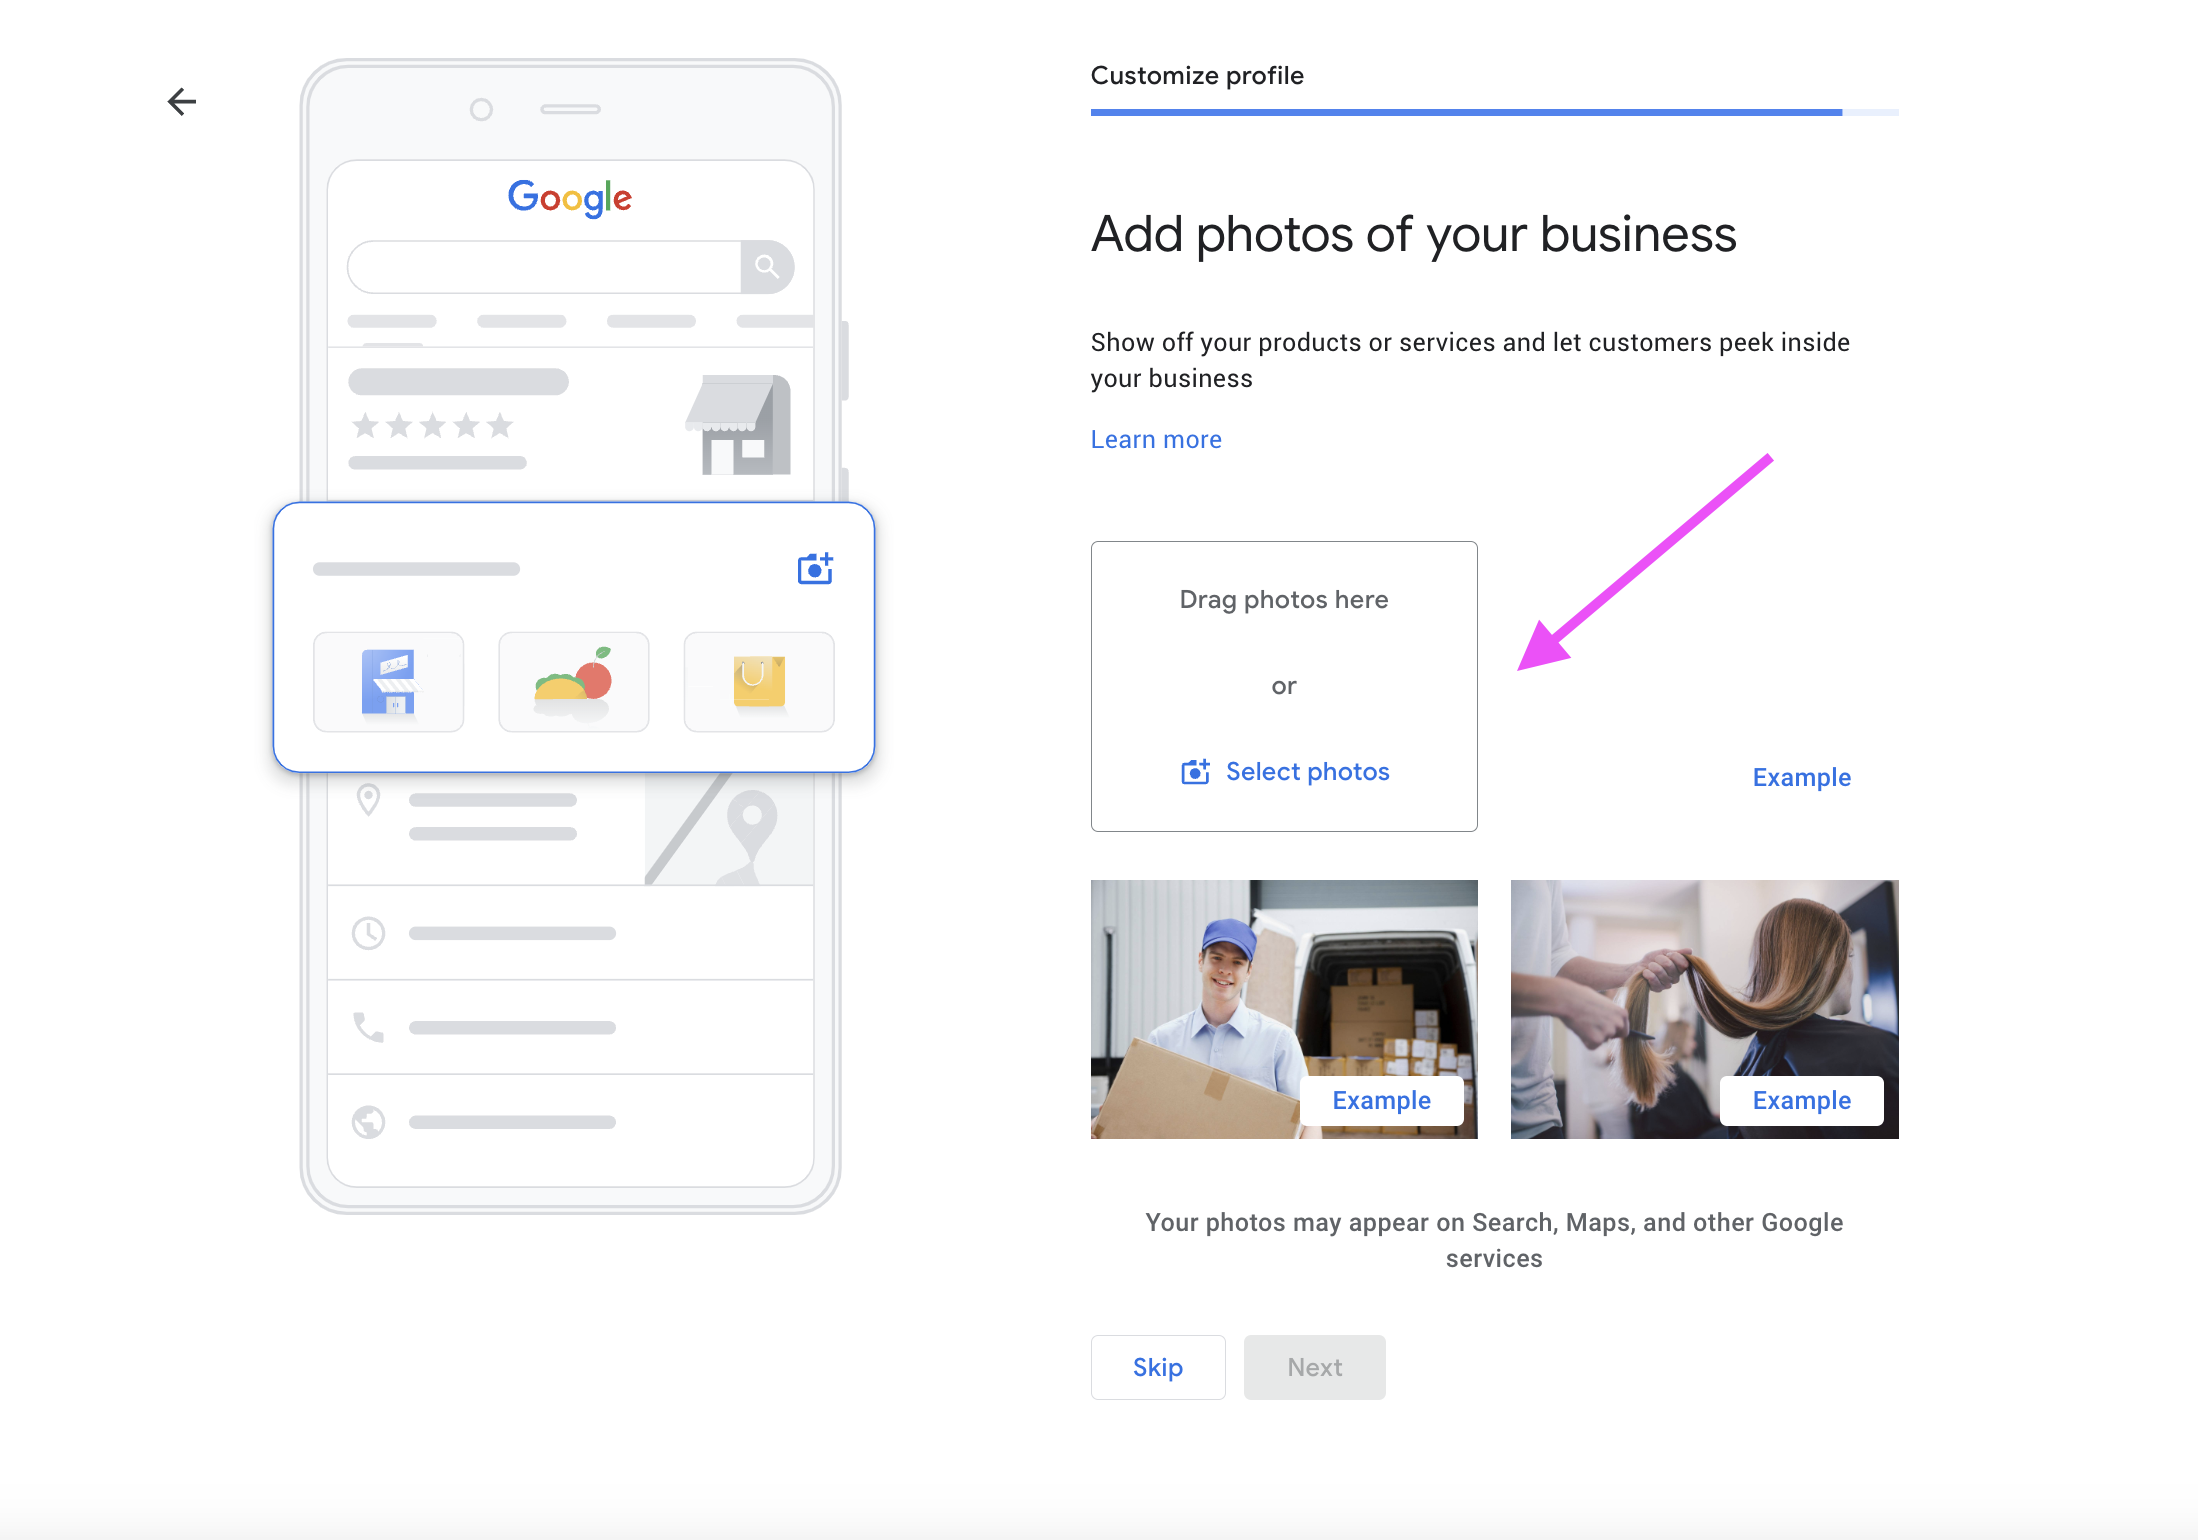
This section allows you to be transparent with your potential customers by allowing you to upload photos of your products and even the results of the services you provide.
Treat this listing as you would treat your company's social media page. Load up photos in the same way you would on your social media. Because Google Business Profile is a social media for your business in organic search results.
I recommend uploading a few times a week for the best results.
Optional: Claim your $500 free advertising credit
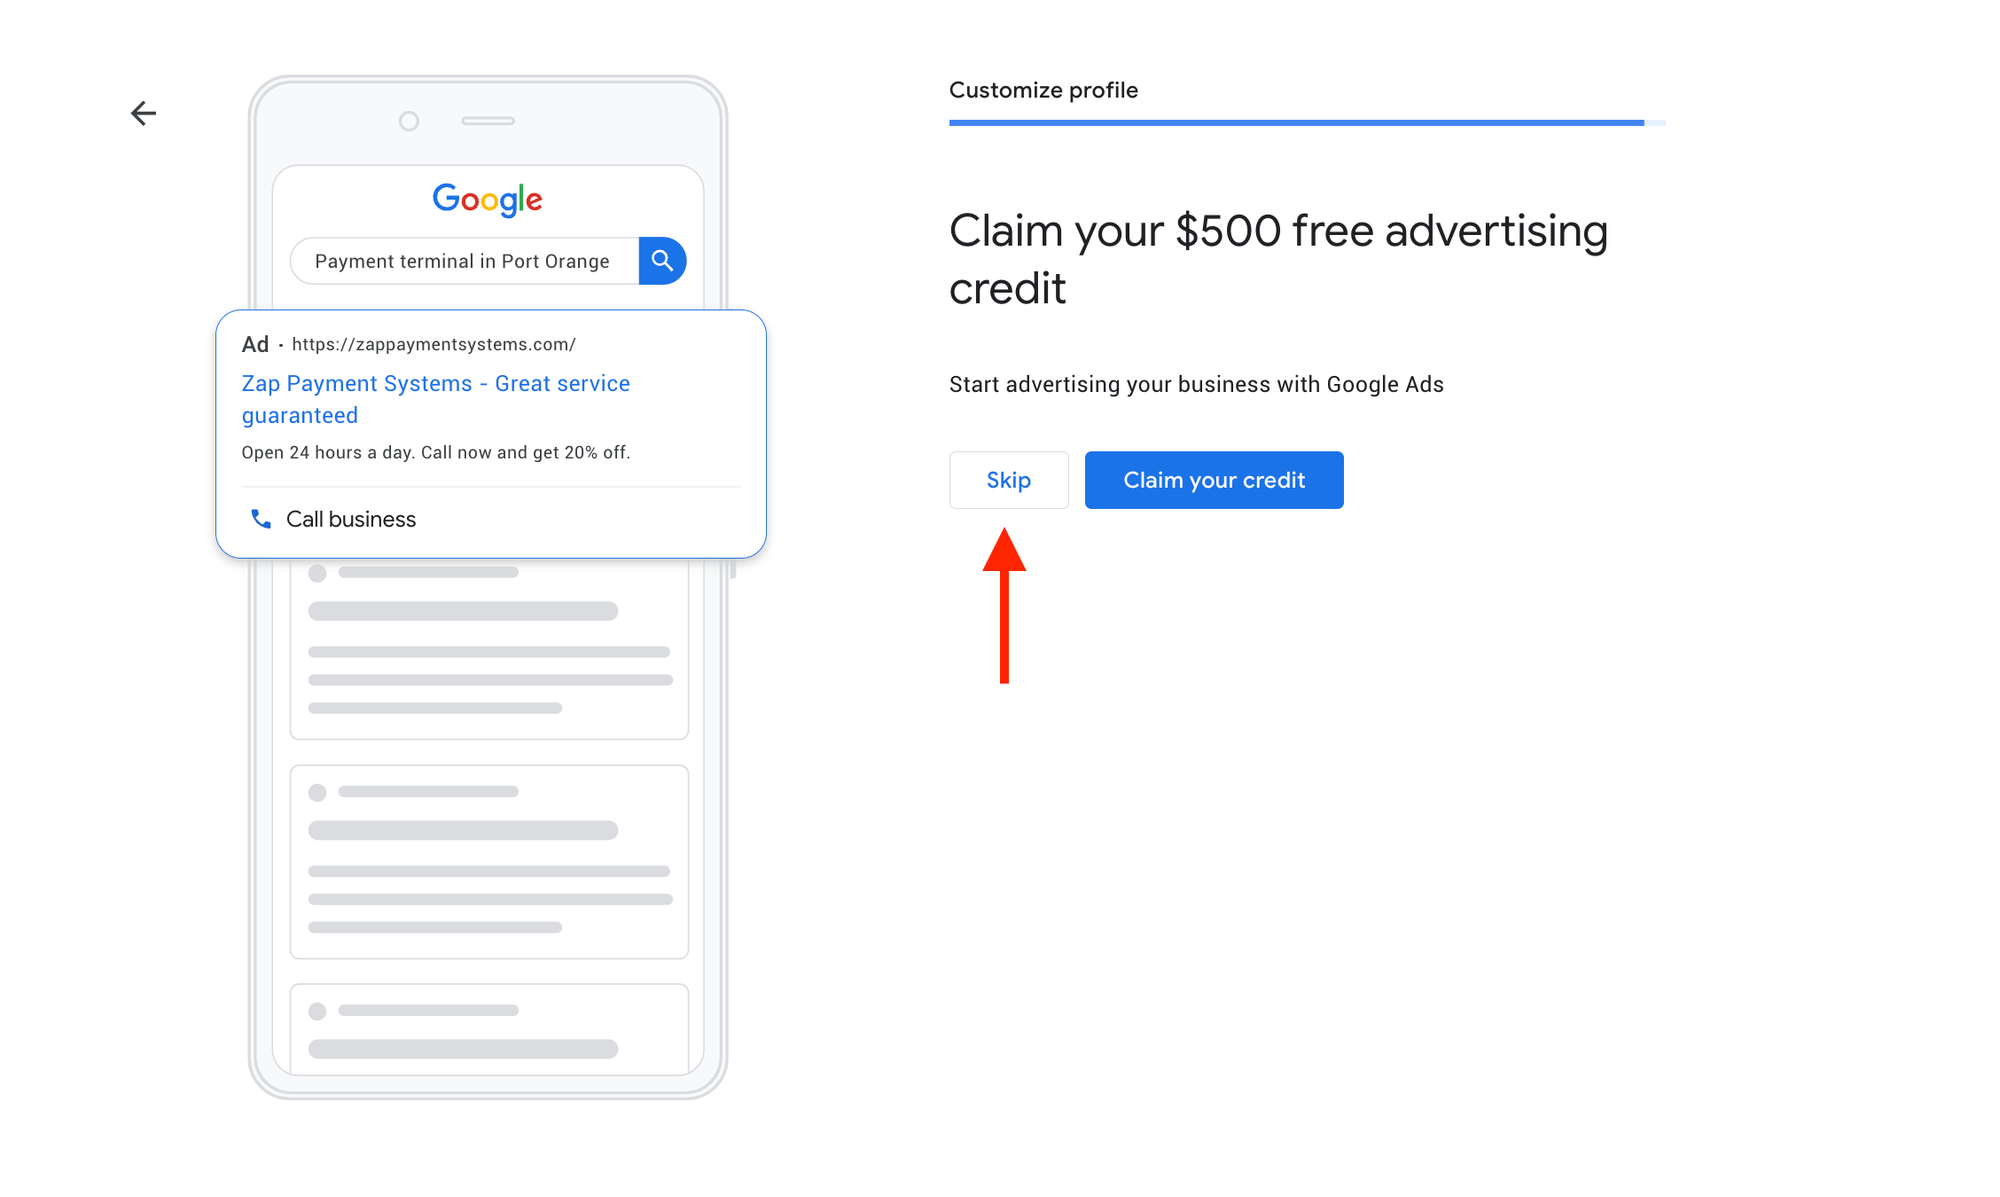
You don't have to start up a Google Ads account. If you are not planning on running Google Ads for your business then click skip, if you are then click claim your credit.
There you have it.
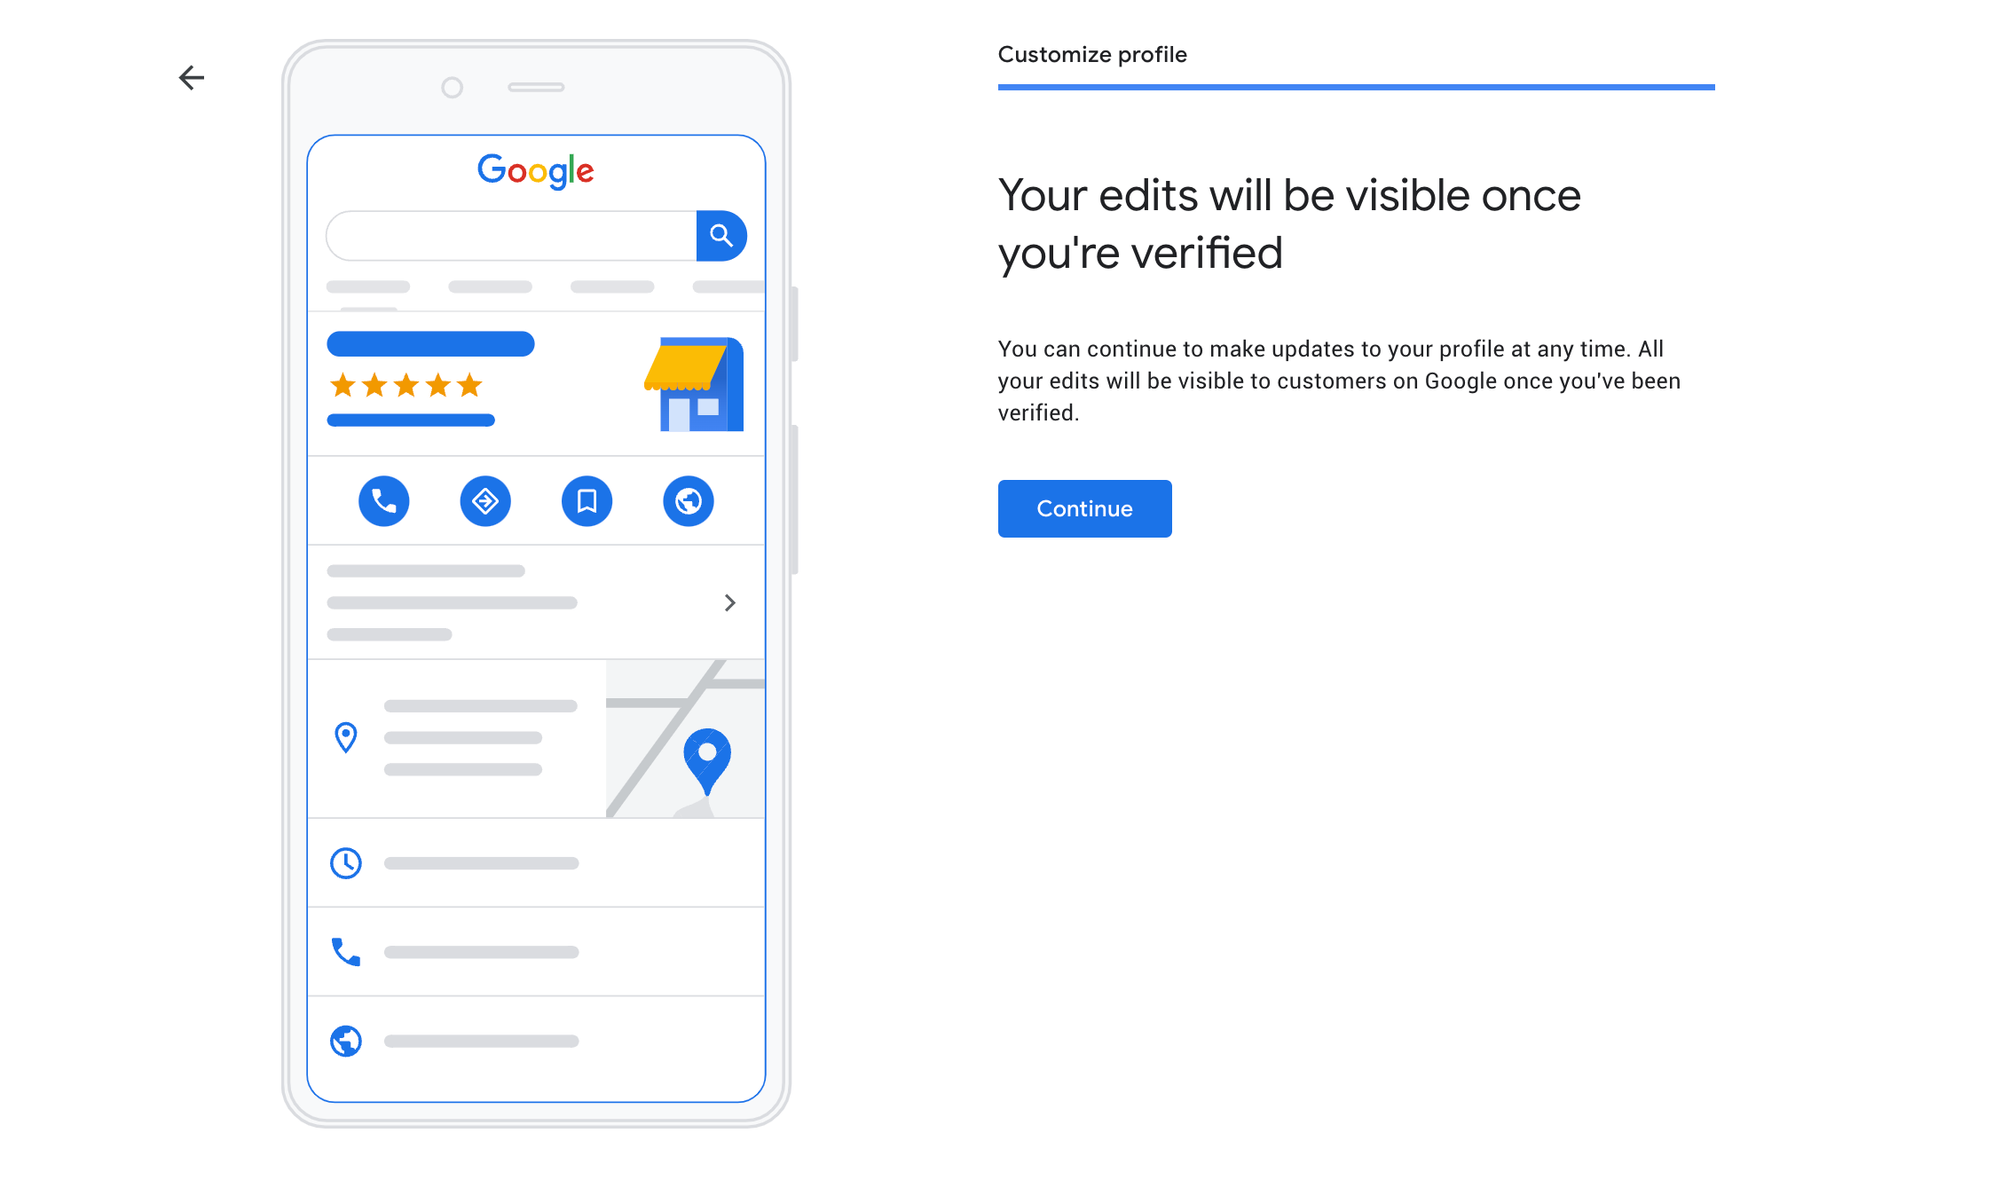
Once you verify your listing then it will go live on Google and you will be able to see it live.